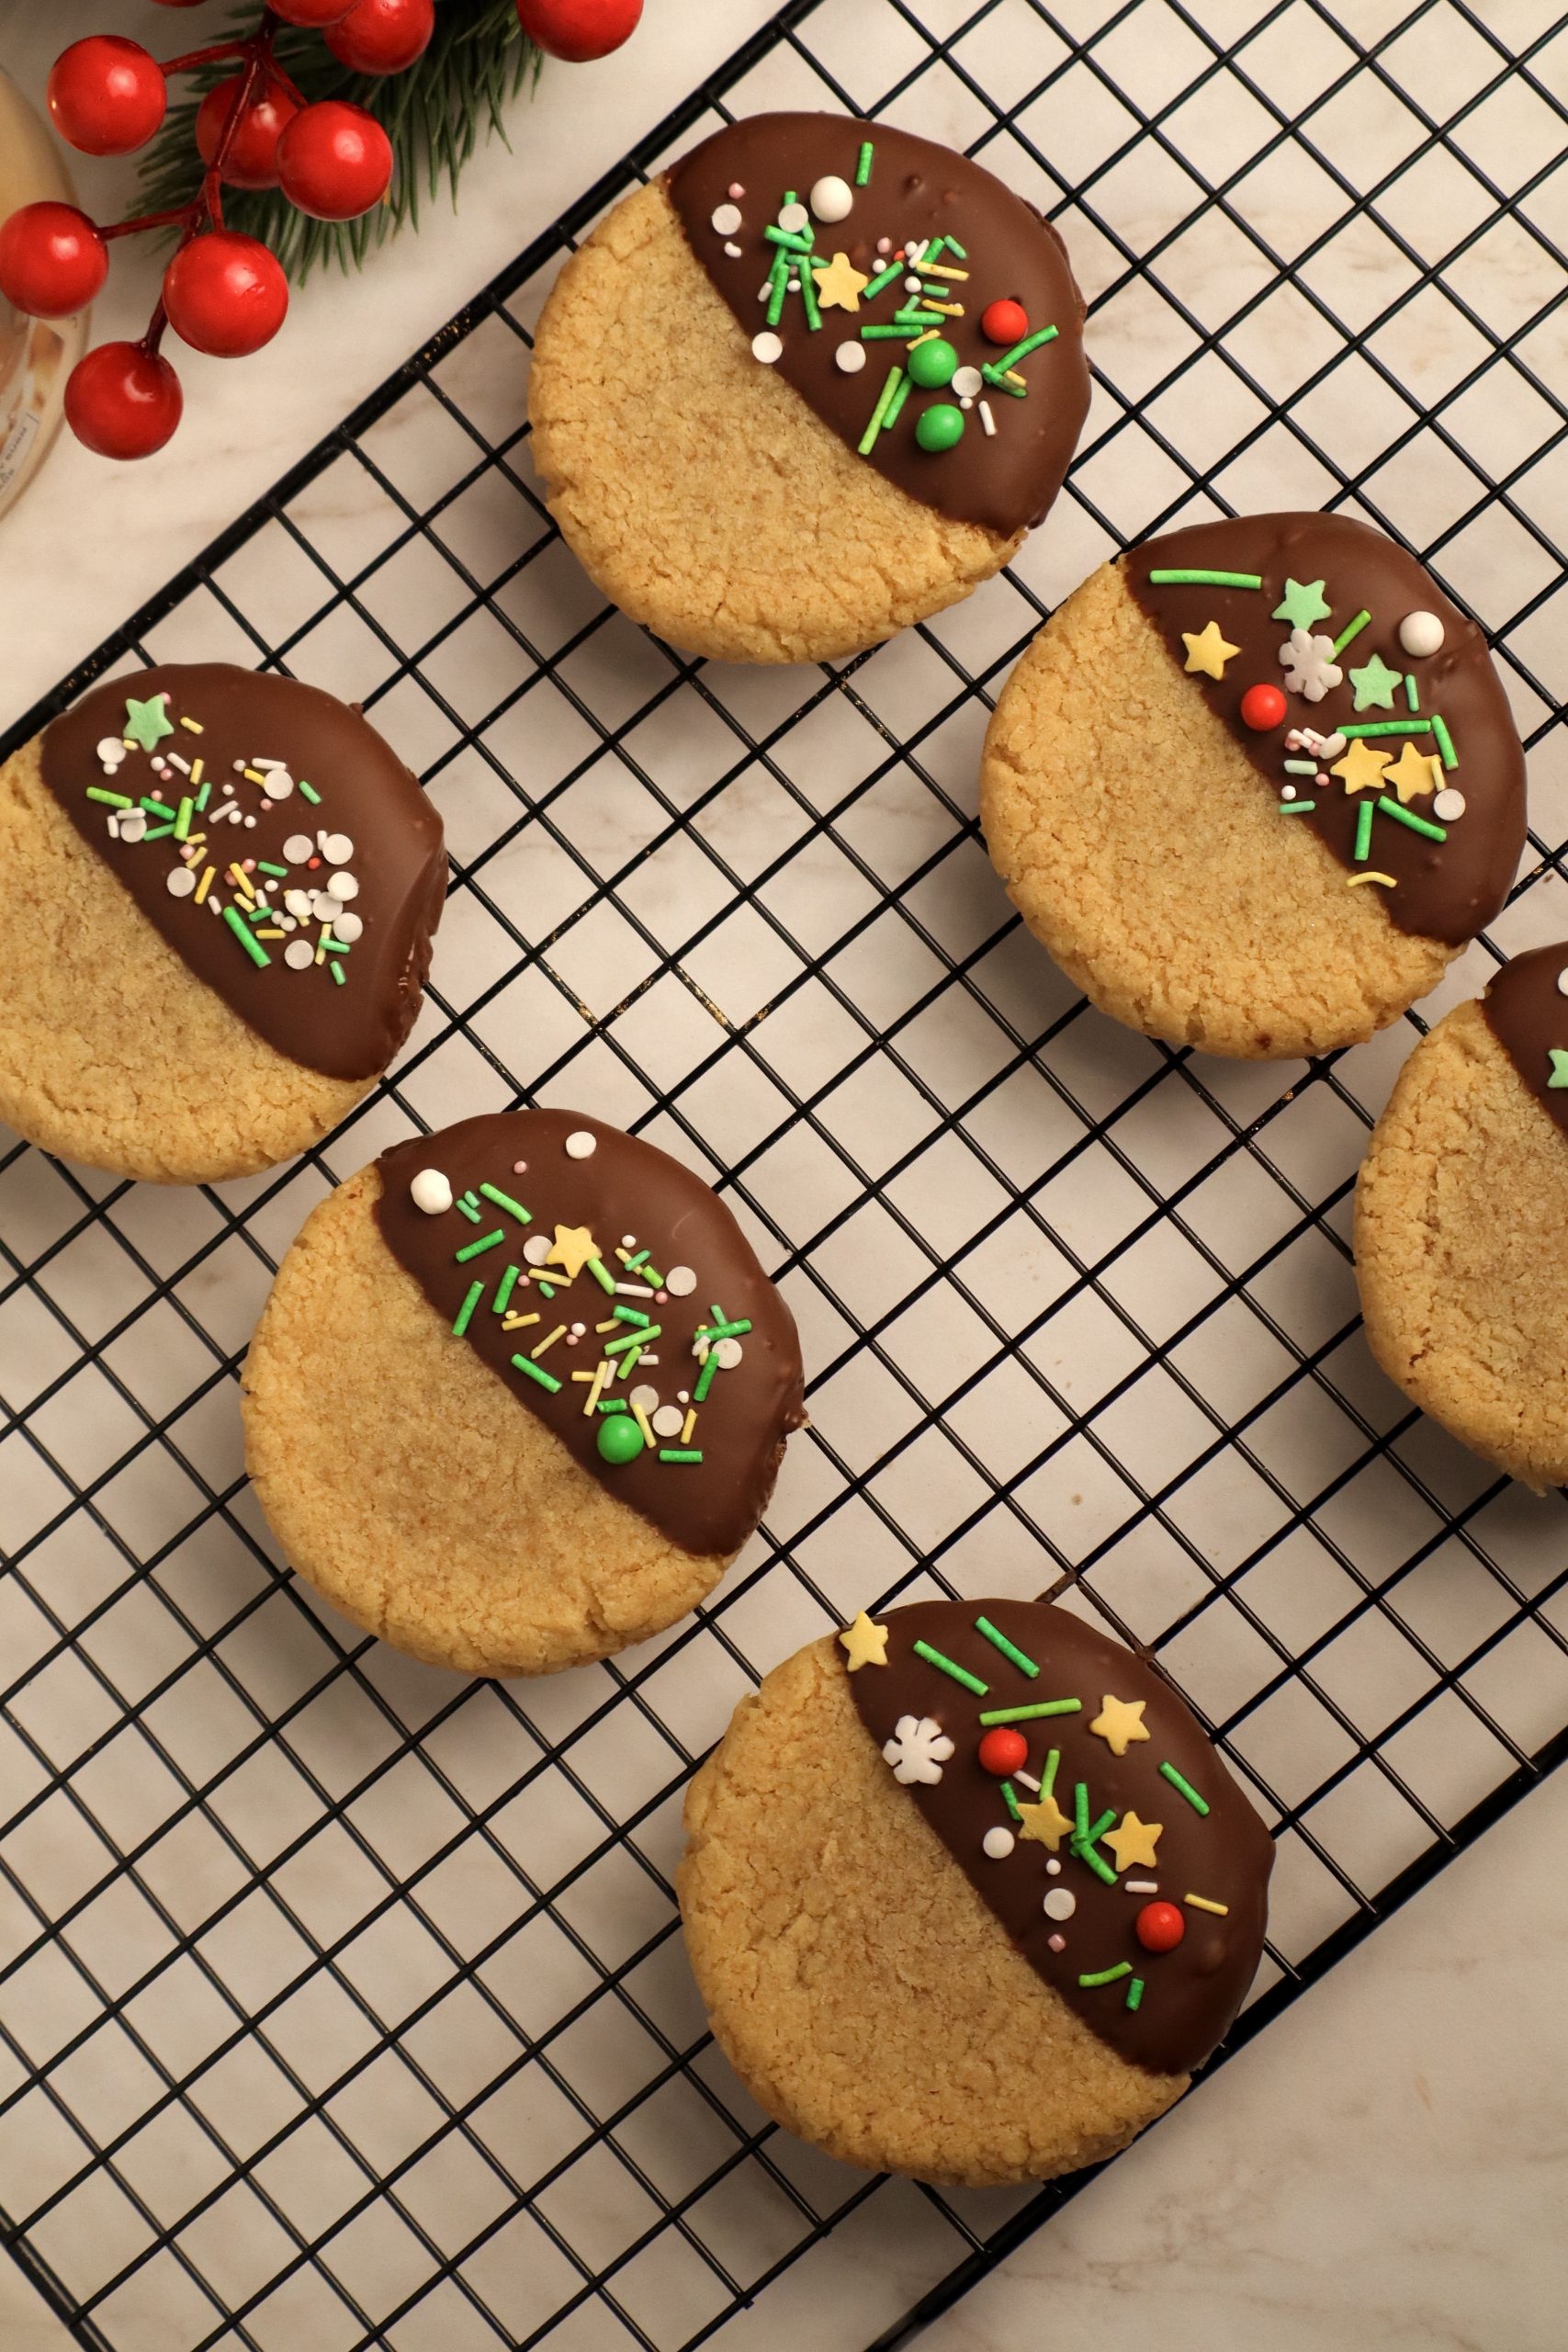
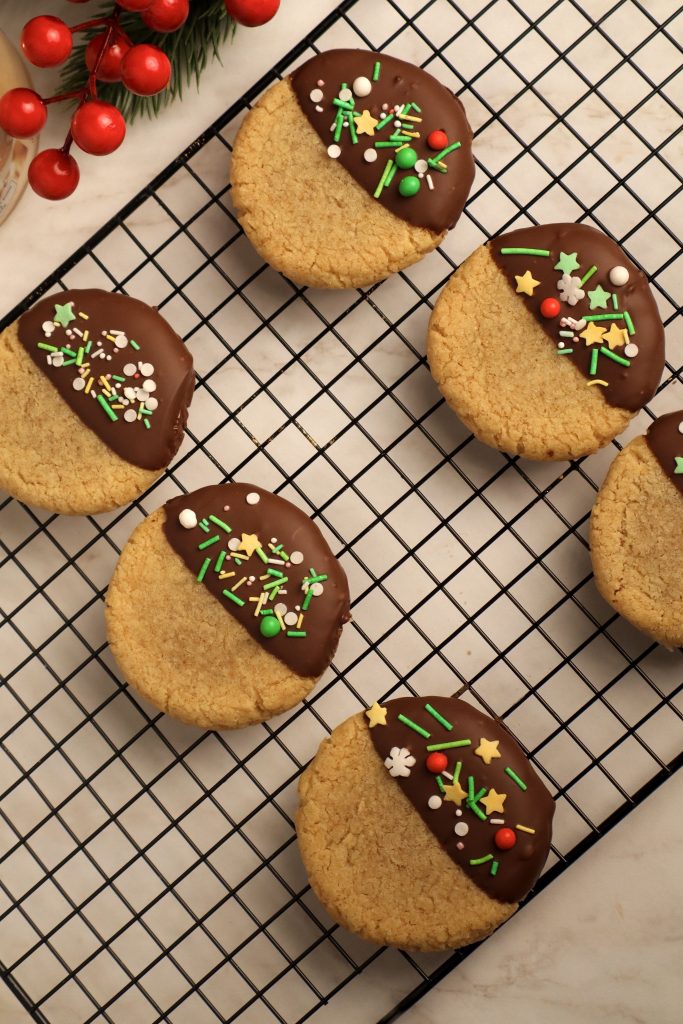
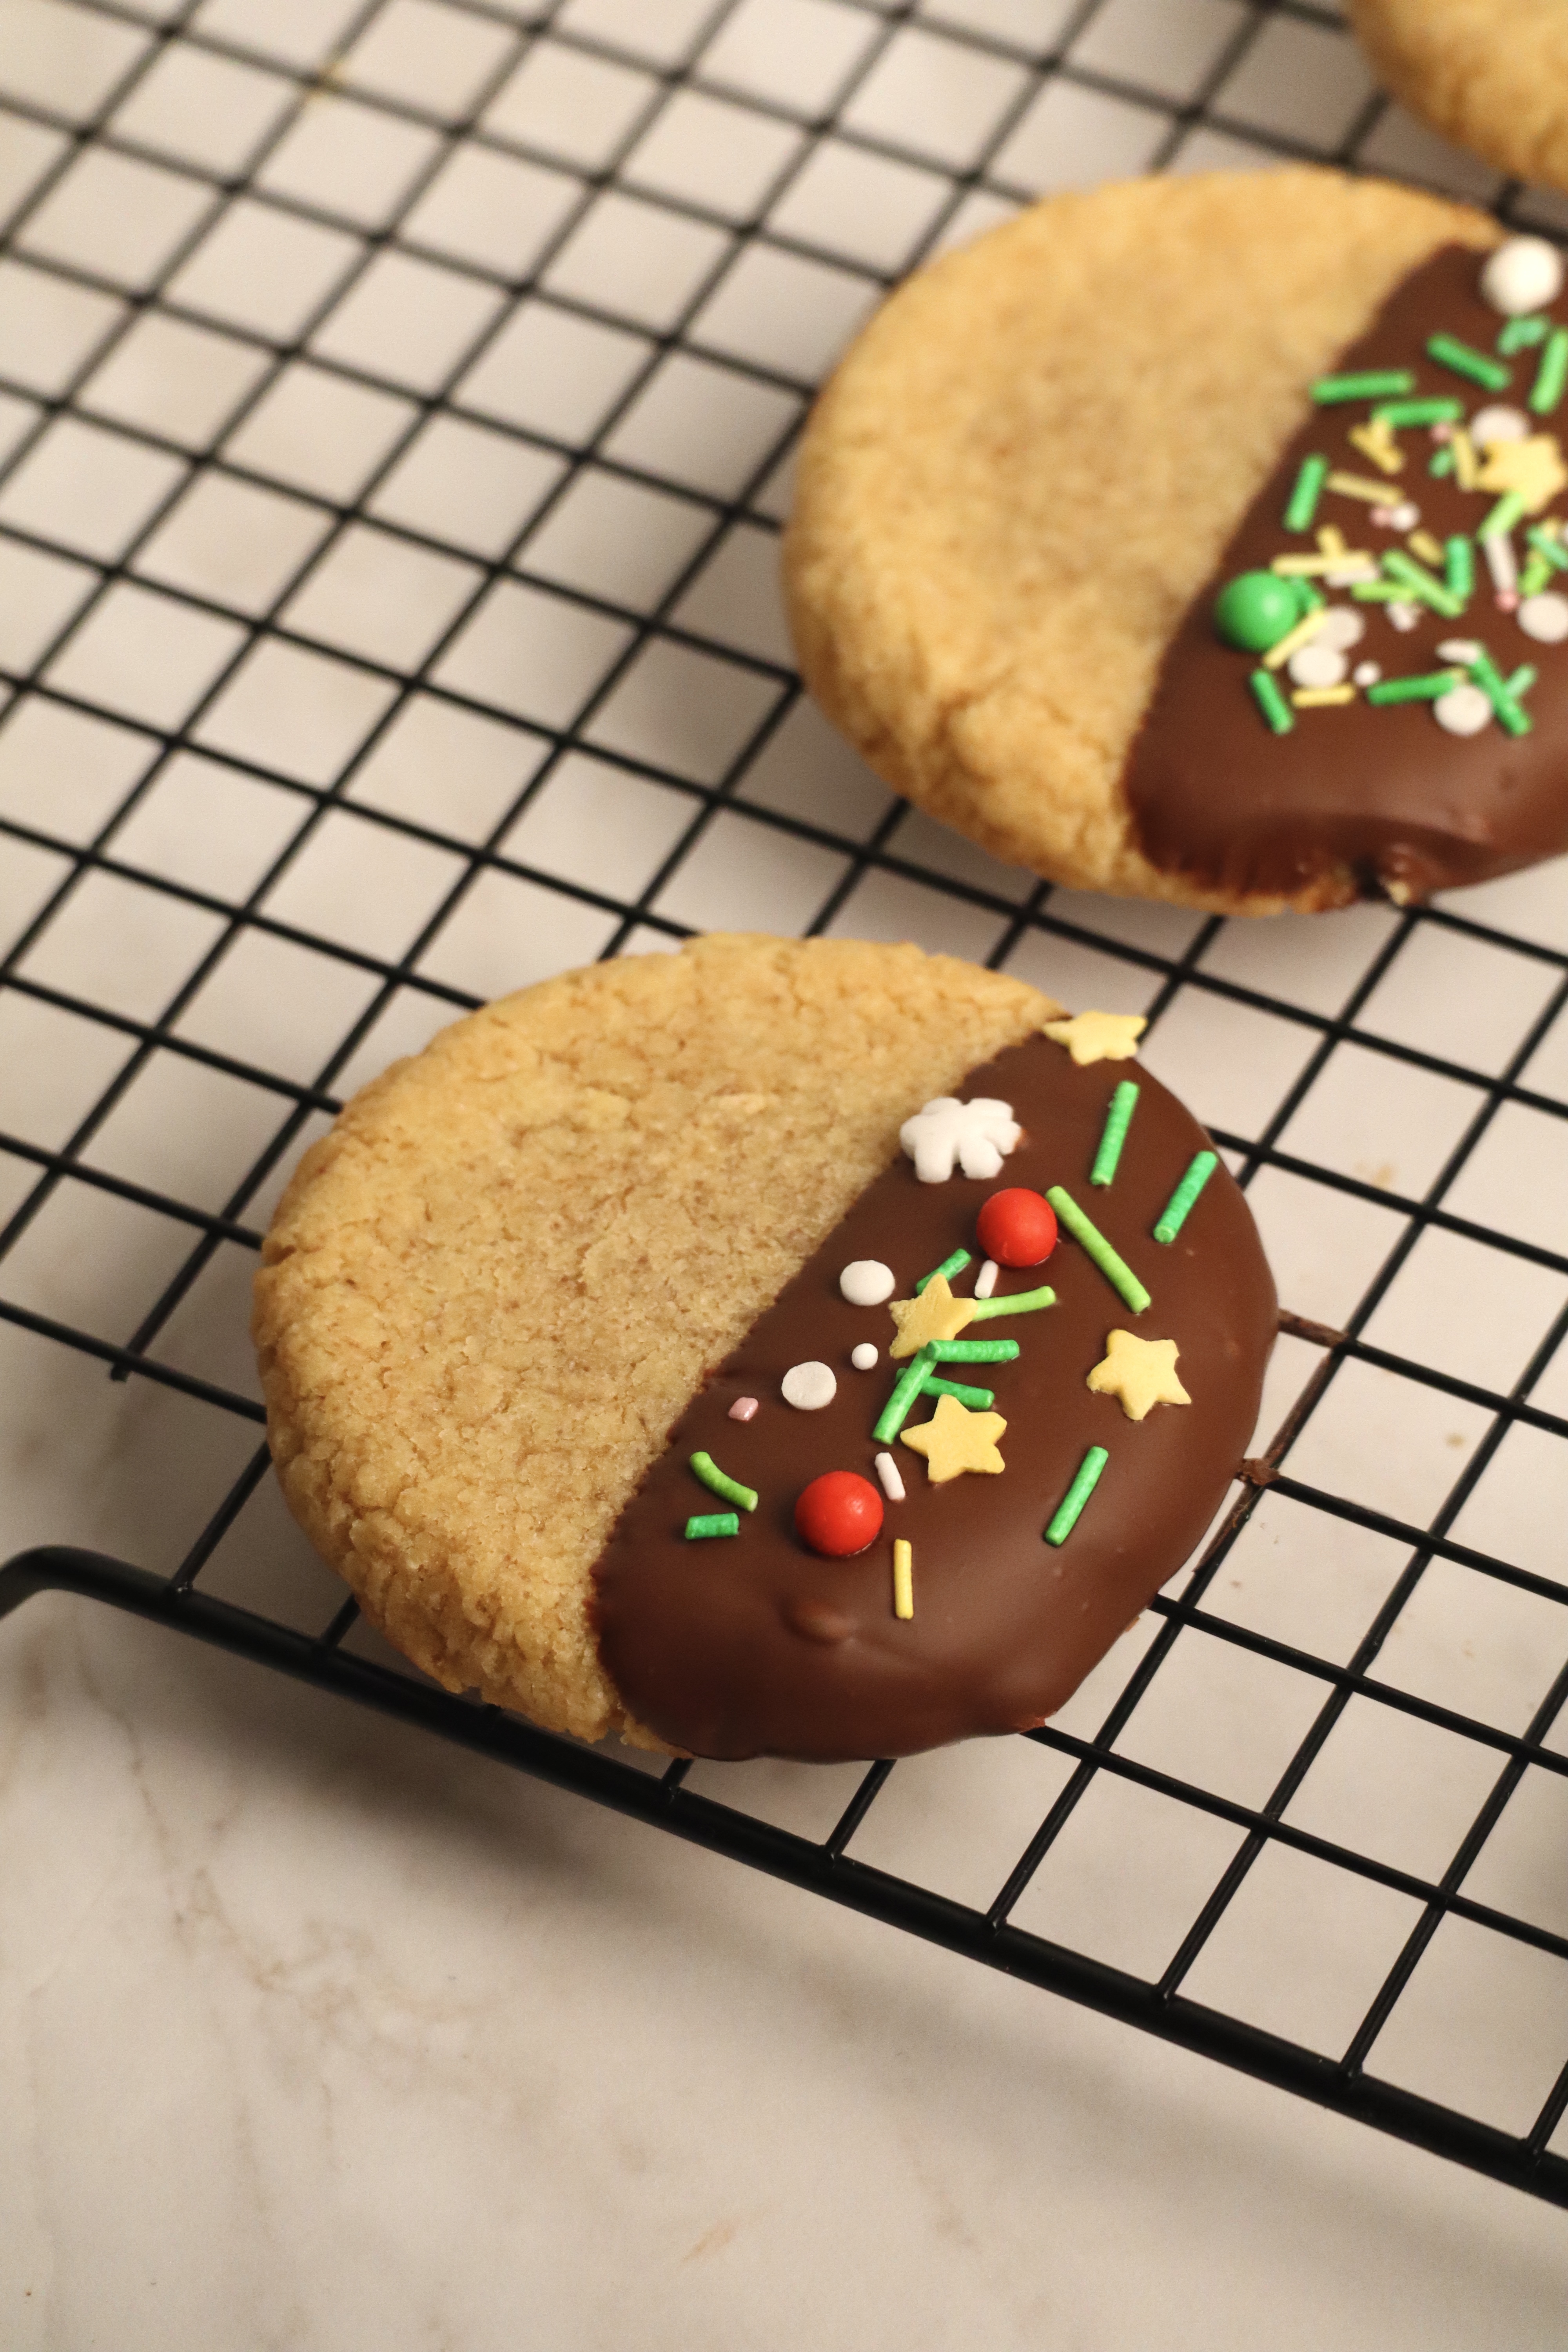
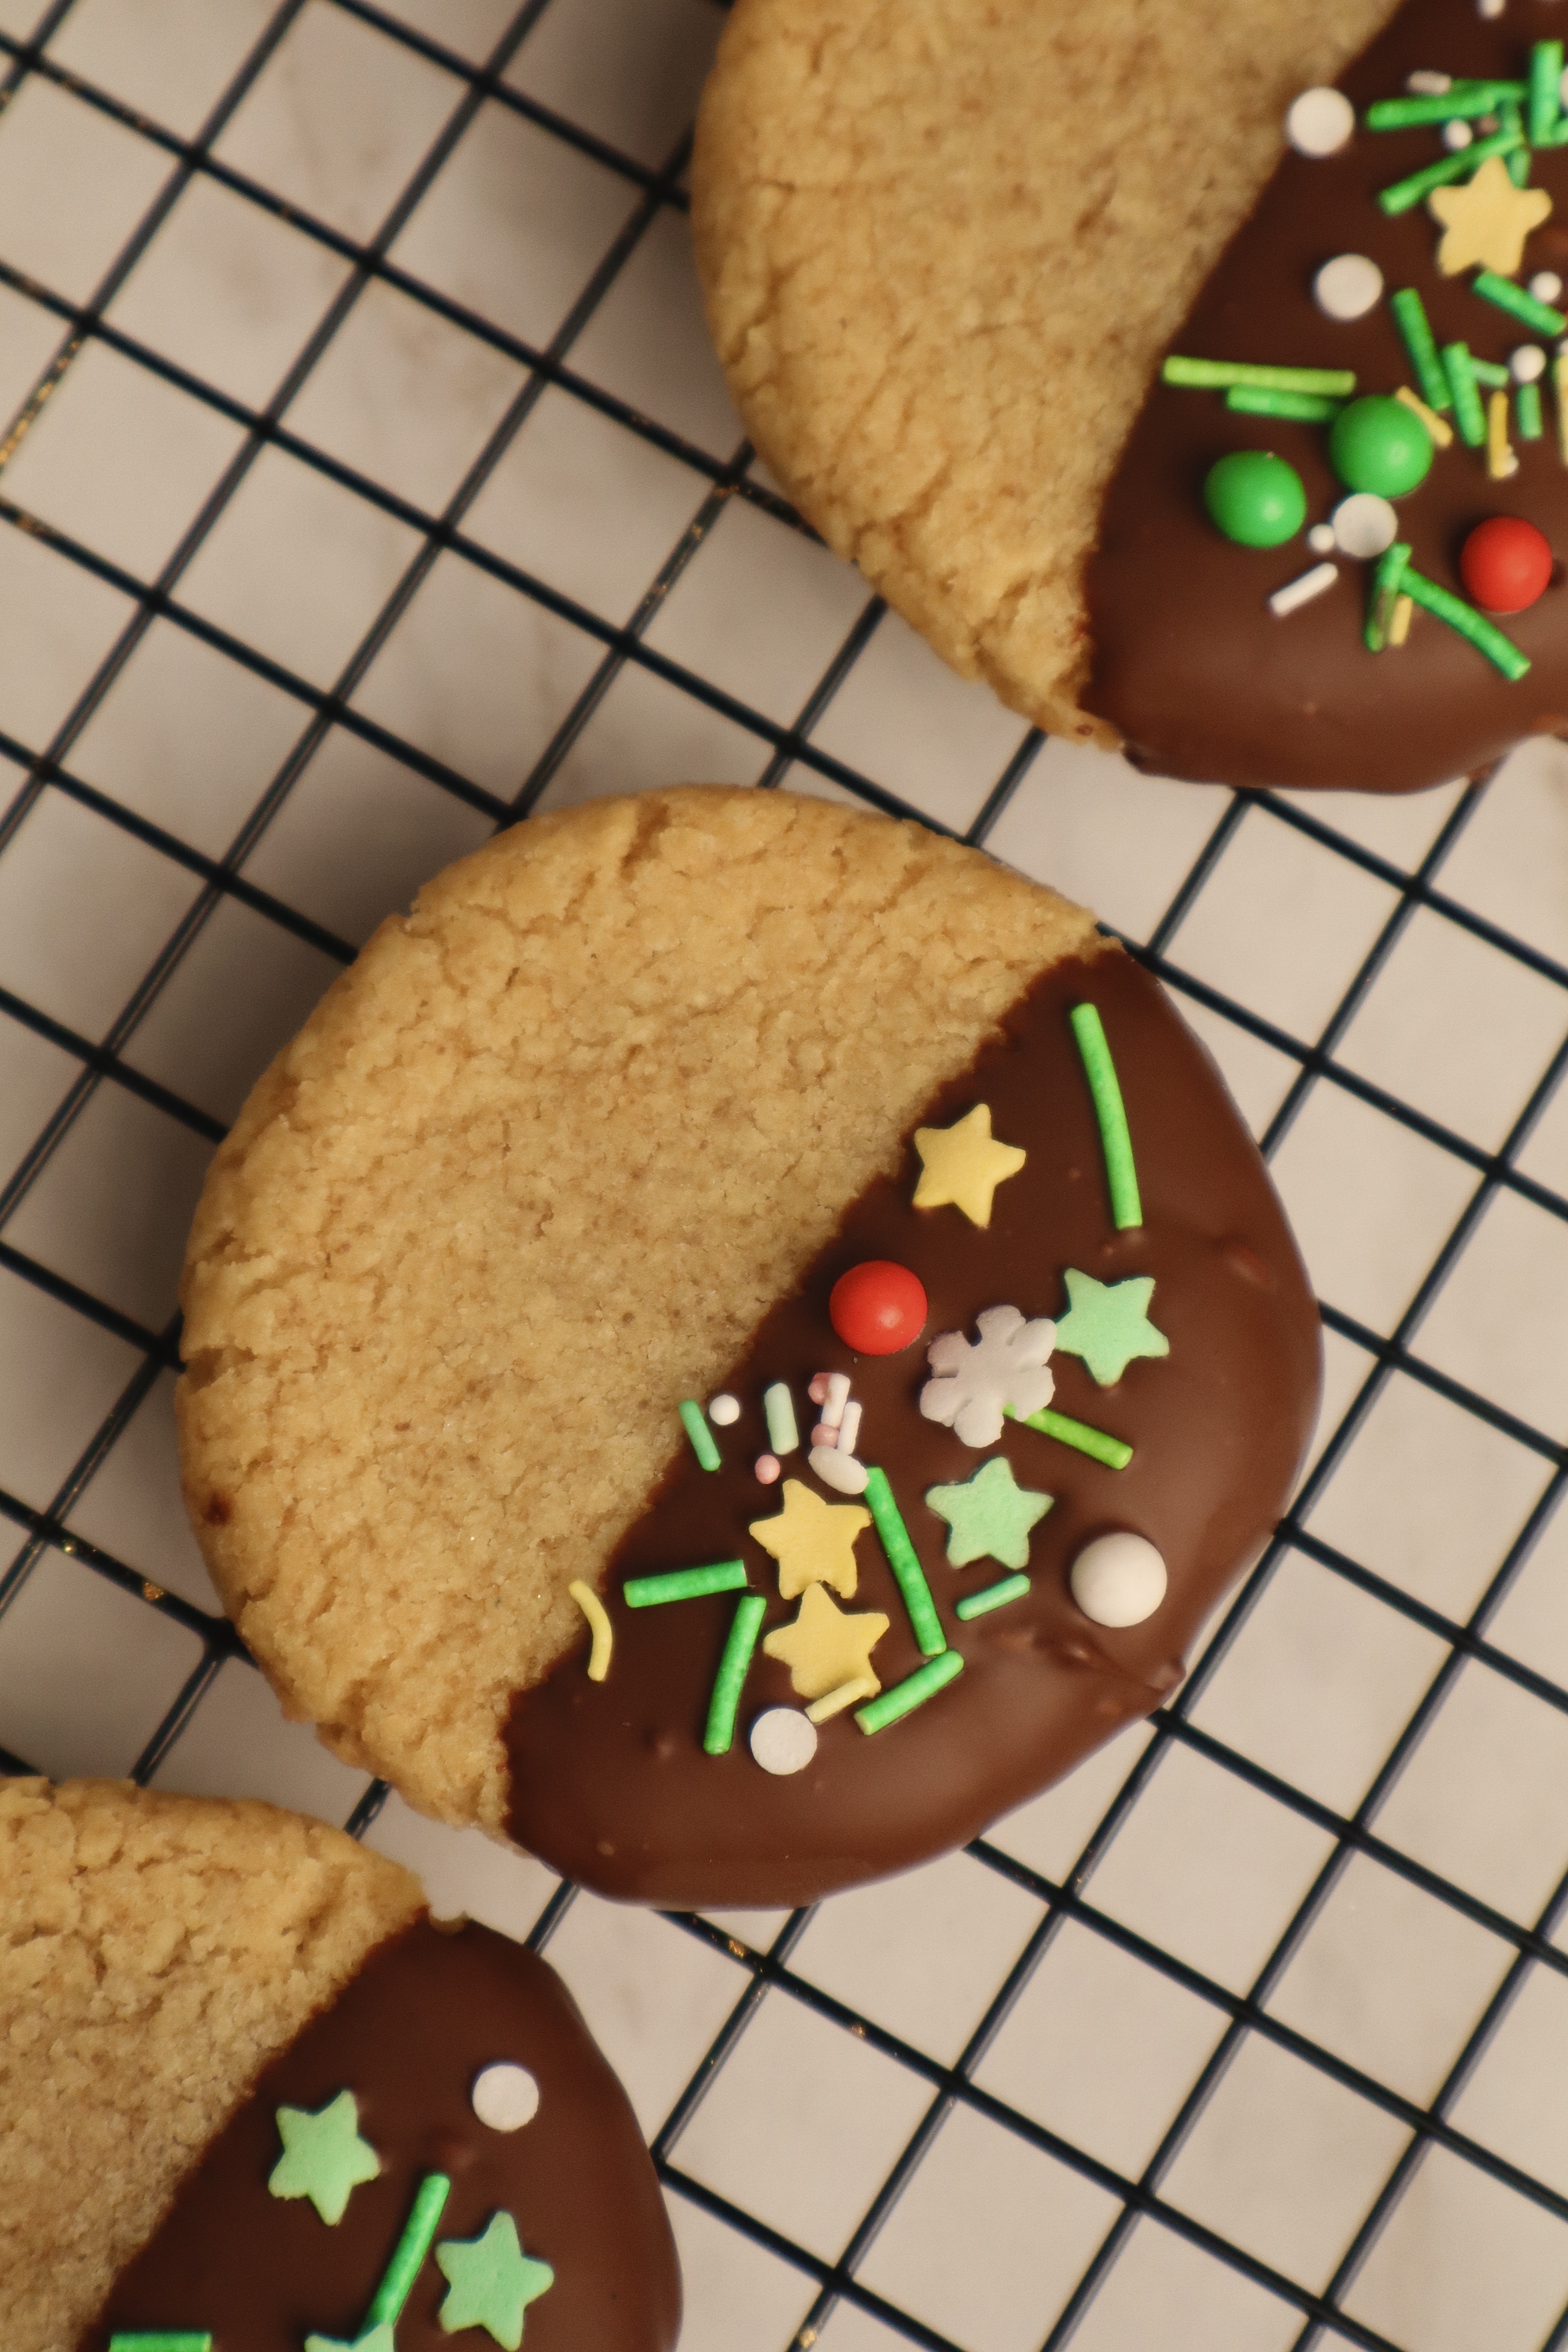
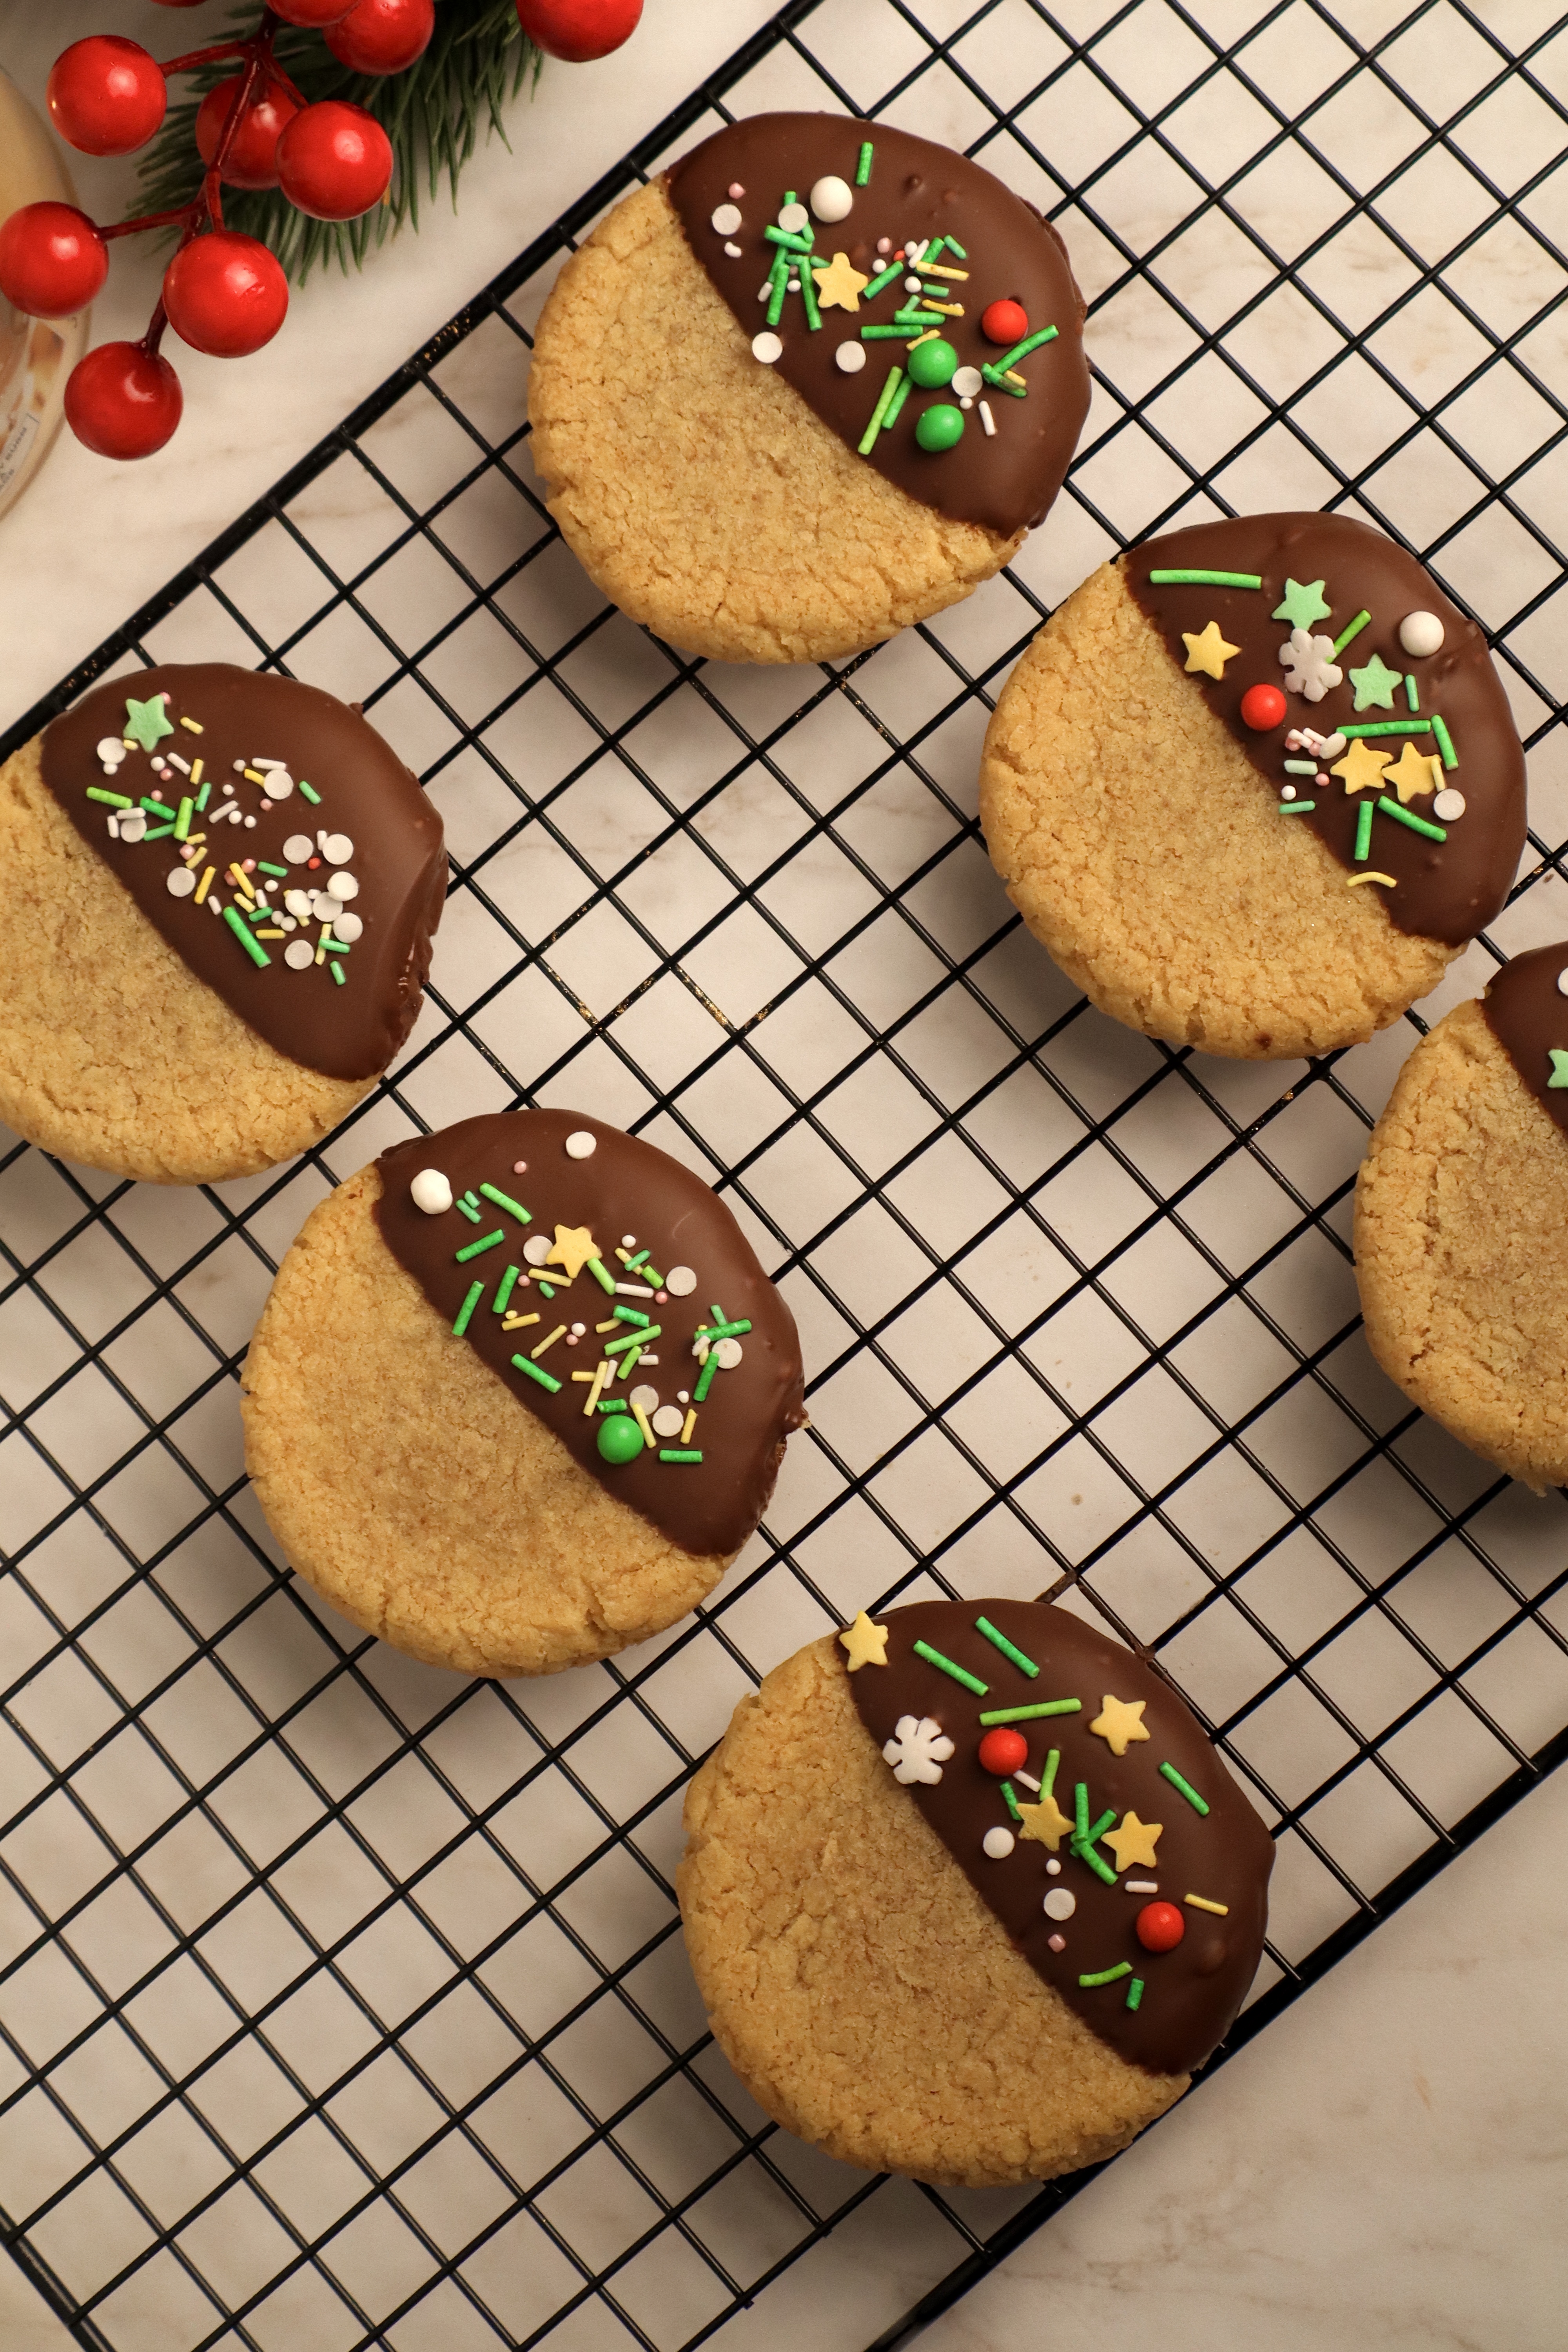
When it comes to classic flavor combinations, nothing beats the union of chocolate and peanut butter. These Chocolate Dipped Chewy Peanut Butter Cookies take that timeless pairing to the next level, making them an irresistible treat for holiday gatherings, gifting, or simply savoring with a warm beverage on a chilly day. With their soft centers, slightly crisp edges, and festive chocolate coating, these cookies are destined to become a seasonal favorite.
Let’s dive into what makes these cookies so special and how you can whip them up for your next holiday celebration.
Why You’ll Love These Cookies
- Easy to Make: With straightforward ingredients and a simple method, this recipe is perfect for bakers of all skill levels.
- Festive and Customizable: Dress them up with holiday sprinkles, crushed candy canes, or a drizzle of white chocolate for added flair.
- Crowd-Pleasing: These cookies are a hit with kids and adults alike, making them perfect for parties or cookie exchanges.
Ingredients You’ll Need for the Chocolate Dipped Peanut Butter Cookies:
For the Cookie Dough:
- All-Purpose Flour: Provides structure to the cookies while keeping them tender.
- Baking Soda: Helps the cookies rise slightly for a light and airy texture.
- Salt: Balances the sweetness and enhances the nutty flavor.
- Butter: Adds richness and a touch of crispness to the edges.
- Peanut Butter: Use creamy, shelf-stable peanut butter (like Jif or Skippy) for the best consistency. Avoid natural peanut butter, which can separate and alter the texture.
- Egg and Egg Yolk: Create a chewy texture and add moisture.
- Milk and Vanilla Extract: Add depth of flavor and help bind the dough.
- Dark Chocolate: For dipping, choose a quality dark chocolate or melting wafers for a smooth finish.
- Sprinkles: For decorating (optional)
You’ll need the following tools for making the Chocolate Dipped Peanut Butter Cookies:
- Mixing Bowls: A large bowl for combining the cookie dough ingredients and smaller ones for measuring.
- Measuring Scale: To accurately measure all your ingredients in grams.
- Hand Mixer or Stand Mixer: For creaming the butter and sugars, and mixing the dough.
- Spatula: To fold in the dry ingredients and combine the mixtures.
- Baking Sheet: For baking the cookies.
- Parchment Paper: To line the baking sheet, preventing the cookies from sticking.
- Cookie Scoop: To evenly portion out the dough.
- Cooling Rack: For allowing the cookies to cool evenly after baking.

Here is the full Recipe:
Ingredients:
For the Cookie Dough:
- 156 g (1 1/4 cups) all-purpose flour, spooned and leveled
- 1 tsp baking soda
- 1 tsp salt
- 85 g (6 Tbsp) unsalted butter, softened
- 120 g (1/2 cup) light brown sugar, packed
- 50 g (1/4 cup) granulated sugar
- 129 g (1/2 cup) creamy peanut butter (shelf-stable, not natural)
- 1 large egg, room temperature
- 1 large egg yolk, room temperature
- 1 Tbsp whole milk
- 2 tsp pure vanilla extract
For the Topping:
- 100 g (1/2 cup) granulated sugar, for rolling
- 140 g (5 oz) dark chocolate, melted
- Festive sprinkles
Directions:
Prepare the Dough:
- In a medium-sized mixing bowl, whisk together the flour, baking soda, and salt. Set aside.
- In a stand mixer fitted with the paddle attachment, cream together the butter, brown sugar, granulated sugar, and peanut butter. Beat for 3-4 minutes until the mixture is light and fluffy. This aeration is key for soft and chewy cookies.
- Next, add the egg, egg yolk, milk, and vanilla extract, mixing well after each addition. Slowly incorporate the dry ingredients, mixing until just combined.
- If the dough feels overly soft, let it rest for 10 minutes to hydrate.
Scoop & Roll:
- Use a 2-tablespoon cookie scoop to portion out the dough. Roll each dough ball in granulated sugar for a crackled, sugary exterior.
Bake to Perfection:
- Place the dough balls on the prepared baking sheets, spacing them about 2 inches apart. Bake for 9-11 minutes at 350°F (175°C), or until the edges are lightly golden and the centers look slightly underbaked.
- Remove the cookies from the oven and let them cool on the baking sheet for a few minutes before transferring them to a wire rack.
Dip and Decorate:
- Melt the chocolate in 30-second increments in the microwave, stirring after each interval until smooth. Dip half of each cooled cookie into the chocolate and immediately sprinkle with festive decorations.
- Allow the chocolate to set completely before serving or storing.
Tips & Tricks:
Tips for the Cookies:
- Choose the Right Peanut Butter: Avoid natural peanut butter, as its separation can affect the consistency of the dough. A creamy, shelf-stable brand works best.
- Don’t Overbake: These cookies should look slightly underdone when you remove them from the oven. They’ll continue to bake on the hot baking sheet as they cool.
- Chill the Dough If Needed: If your kitchen is warm, pop the dough in the fridge for 10-15 minutes to make it easier to handle.
- Customize Your Decorations: Feel free to swap the holiday sprinkles for other toppings, like chopped nuts or a drizzle of caramel.
- To Freeze the Dough: Scoop and roll the cookie dough, then place the balls on a baking sheet and freeze until solid. Transfer to a freezer bag or container and store for up to 3 months. Bake directly from frozen, adding 1-2 minutes to the baking time.
- To Freeze Baked Cookies: Place the fully cooled, undecorated cookies in an airtight container, separating layers with parchment paper. Freeze for up to 3 months. Dip in chocolate and decorate after thawing.
General Tips:
- Cookie Size: Use a cookie scoop or spoon to ensure uniform cookie sizes. This helps them bake evenly and ensures they are all done at the same time.
- Baking Sheets: Use parchment paper or silicone baking mats to prevent the cookies from sticking and to promote even baking. If you don’t have either, make sure to lightly grease the baking sheets.
- Cooling: Let the cookies cool on the baking sheet for a few minutes before transferring them to a wire rack. This helps them set and prevents them from breaking apart.
- Serving: Serve these cookies slightly warm or at room temperature. They pair wonderfully with a cup of coffee or hot chocolate, making them perfect for a cozy afternoon snack or dessert.
Why These Cookies Are Perfect for the Holidays
Peanut butter and chocolate are beloved flavors year-round, but these cookies truly shine during the holiday season. Their rich, nutty taste pairs beautifully with a mug of hot cocoa or coffee, and their festive appearance makes them a standout addition to any dessert table.
They’re also a fantastic option for gifting! Pack them in holiday tins or boxes with parchment paper for a thoughtful homemade present.
More Christmas Baking Ideas:
- Marbled Chocolate Christmas Cookies – Elegant and easy, these buttery cookies are decorated with swirls of white and dark chocolate for a dazzling holiday treat.
- Santa Hat Cookies – These jam-filled Linzer cookies shaped like Santa hats will be the highlight of your cookie exchange this year!
- Melted Snowman Cookies – Creative and delicious, these cookies feature melted marshmallows and charming decorations for a frosty holiday vibe.
- Cinnamon Stars (Zimtsterne) – A timeless classic made with nuts and cinnamon, these star-shaped cookies are a staple of holiday baking.
- Roasted Matcha Cookies – With their unique roasted matcha flavor and creamy topping, these cookies bring a modern twist to your holiday treats.
Watch the recipe video here. Let’s get to baking! Here is the full recipe:
