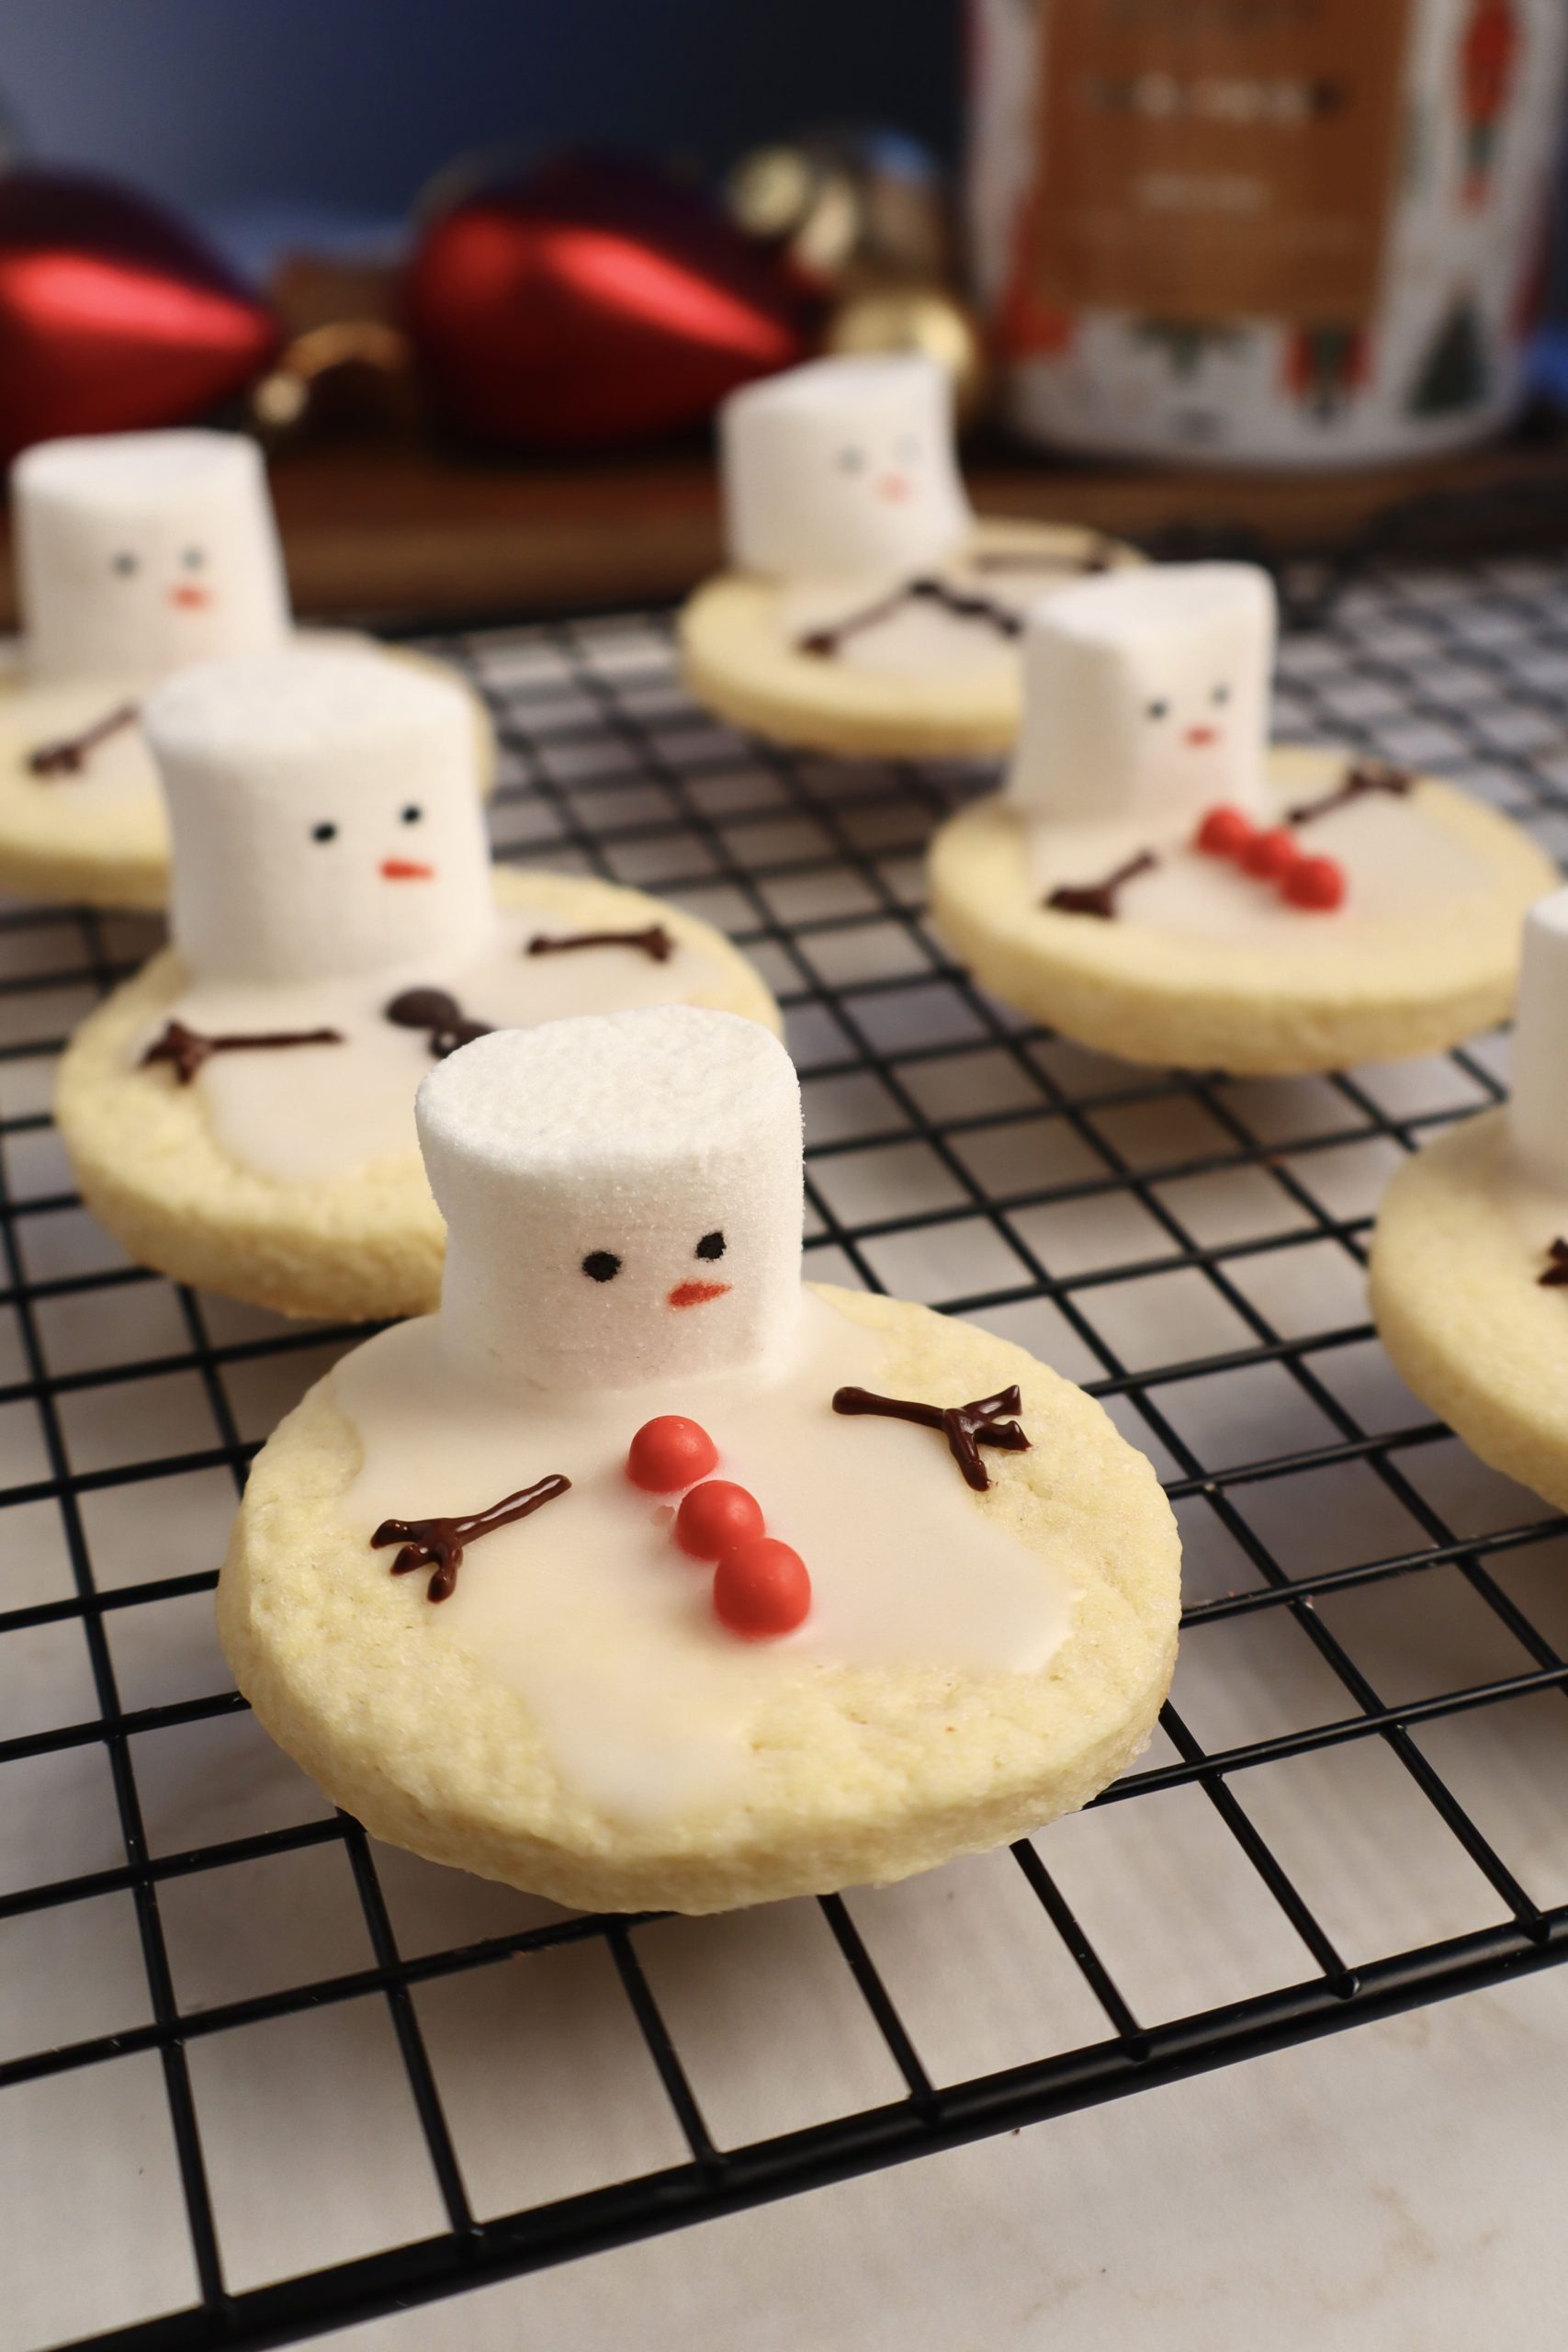
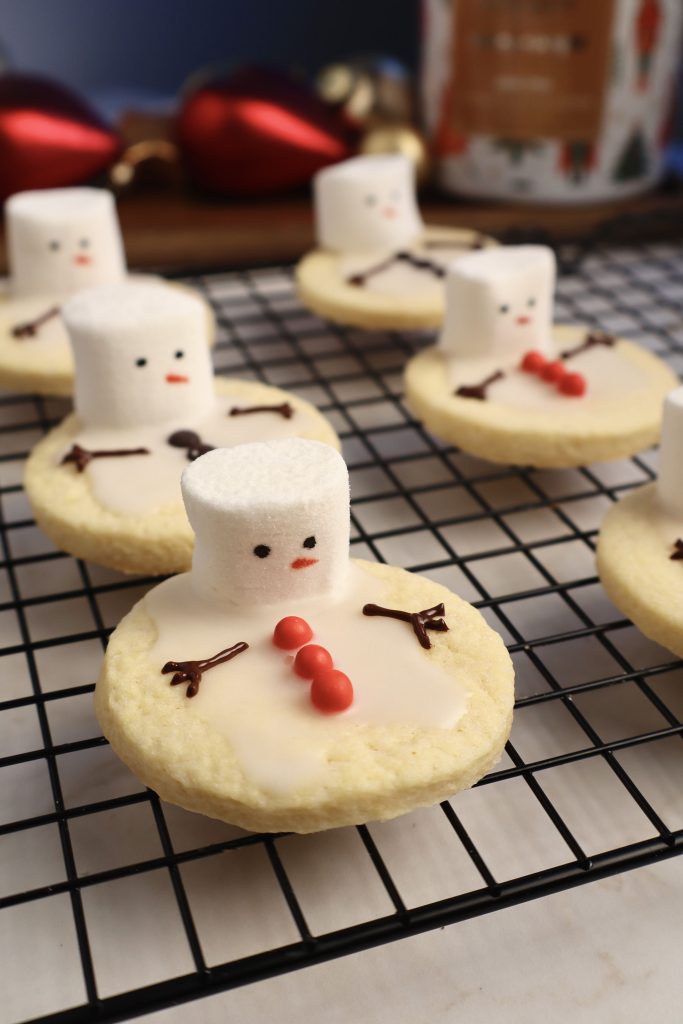
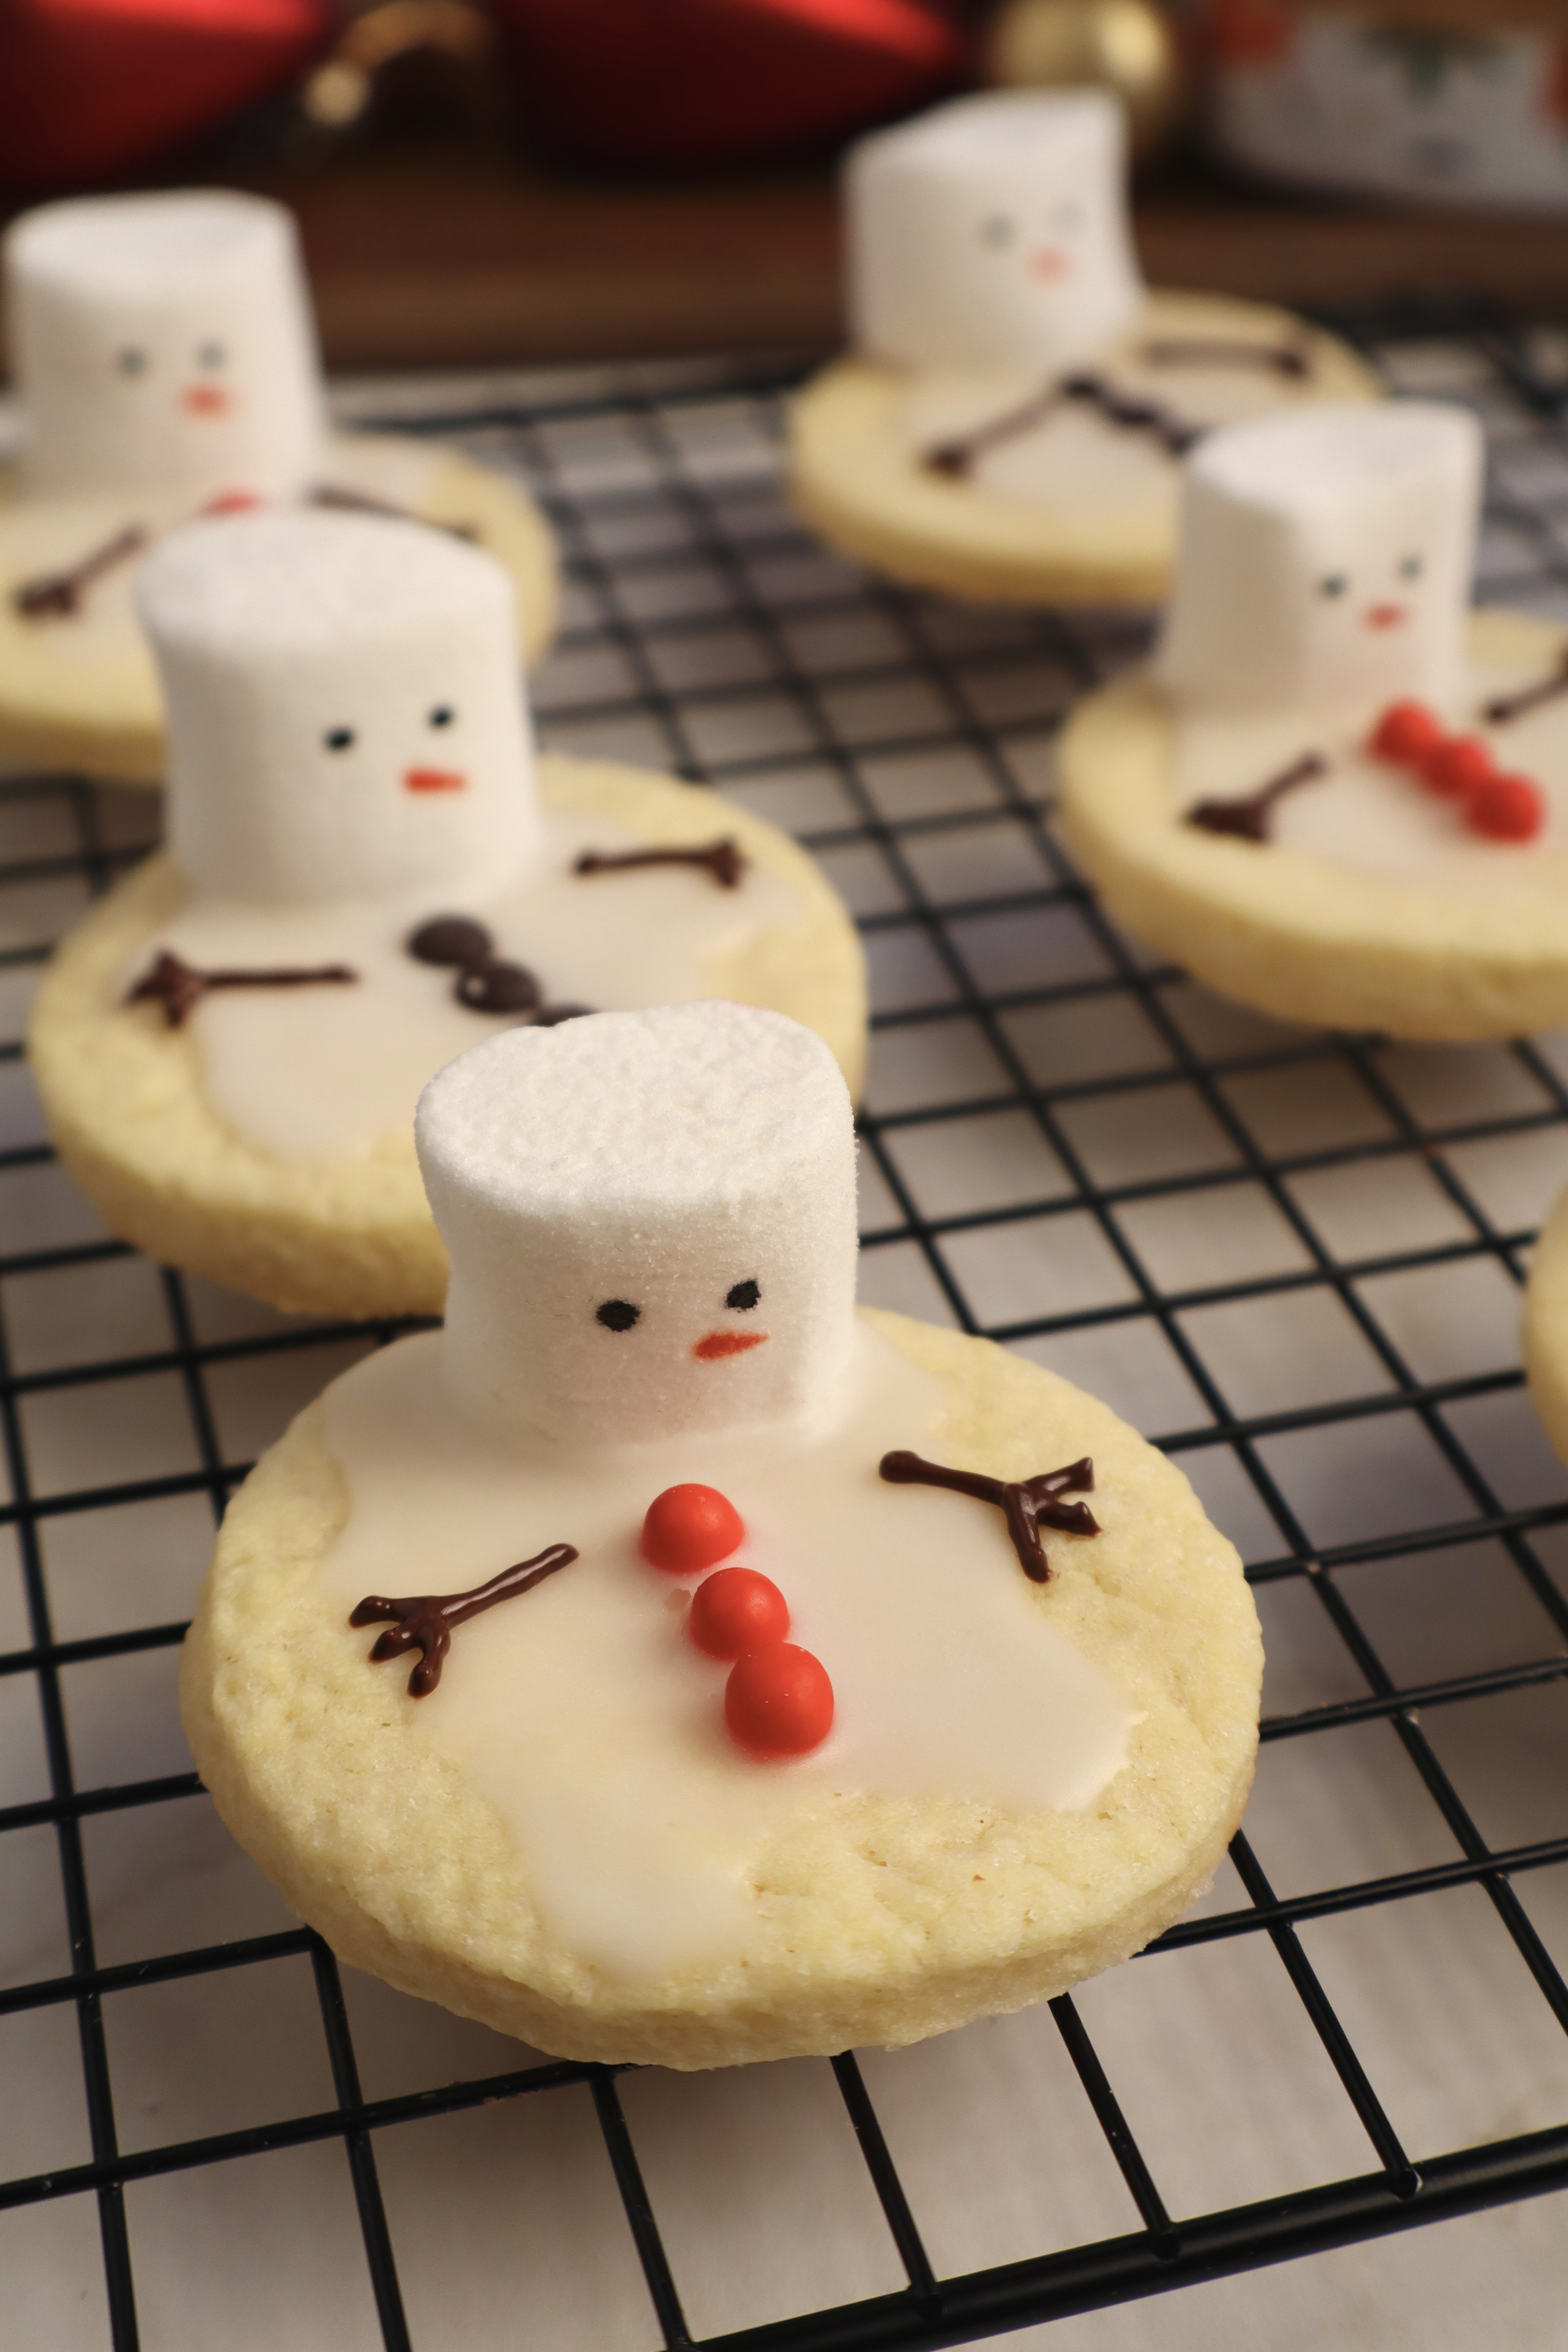
Looking for a whimsical and creative treat to make this holiday season? These Melted Snowman Sugar Cookies are as fun to make as they are delicious to eat! Imagine tender sugar cookies topped with sweet icing, a marshmallow snowman face, and playful chocolate or candy details. They’re perfect for holiday parties, a fun baking session with kids, or as a charming gift for loved ones.
This blog post will walk you through everything you need to know to bake, decorate, and enjoy these adorable cookies. So let’s get started!
Ingredients You’ll Need for the Melted Snowman Sugar Cookies:
For the Cookies:
- Butter: Softened butter is the base for the cookie dough, giving it a tender, chewy texture.
- Granulated sugar: Granulated sugar adds sweetness and gives a slightly crisp to the cookies.
- Egg: The egg binds the ingredients together and adds moisture to the dough.
- Vanilla extract: Vanilla enhances the flavor and balances the sweetness.
- All-purpose flour: Provides the structure for your cookies.
- Salt: Balances the sweetness and elevates the flavor.
Decorations:
- Marshmallows: To create the snowman heads.
- Powdered Sugar: For making the icing “snow.”
- Water: To mix with powdered sugar for the icing.
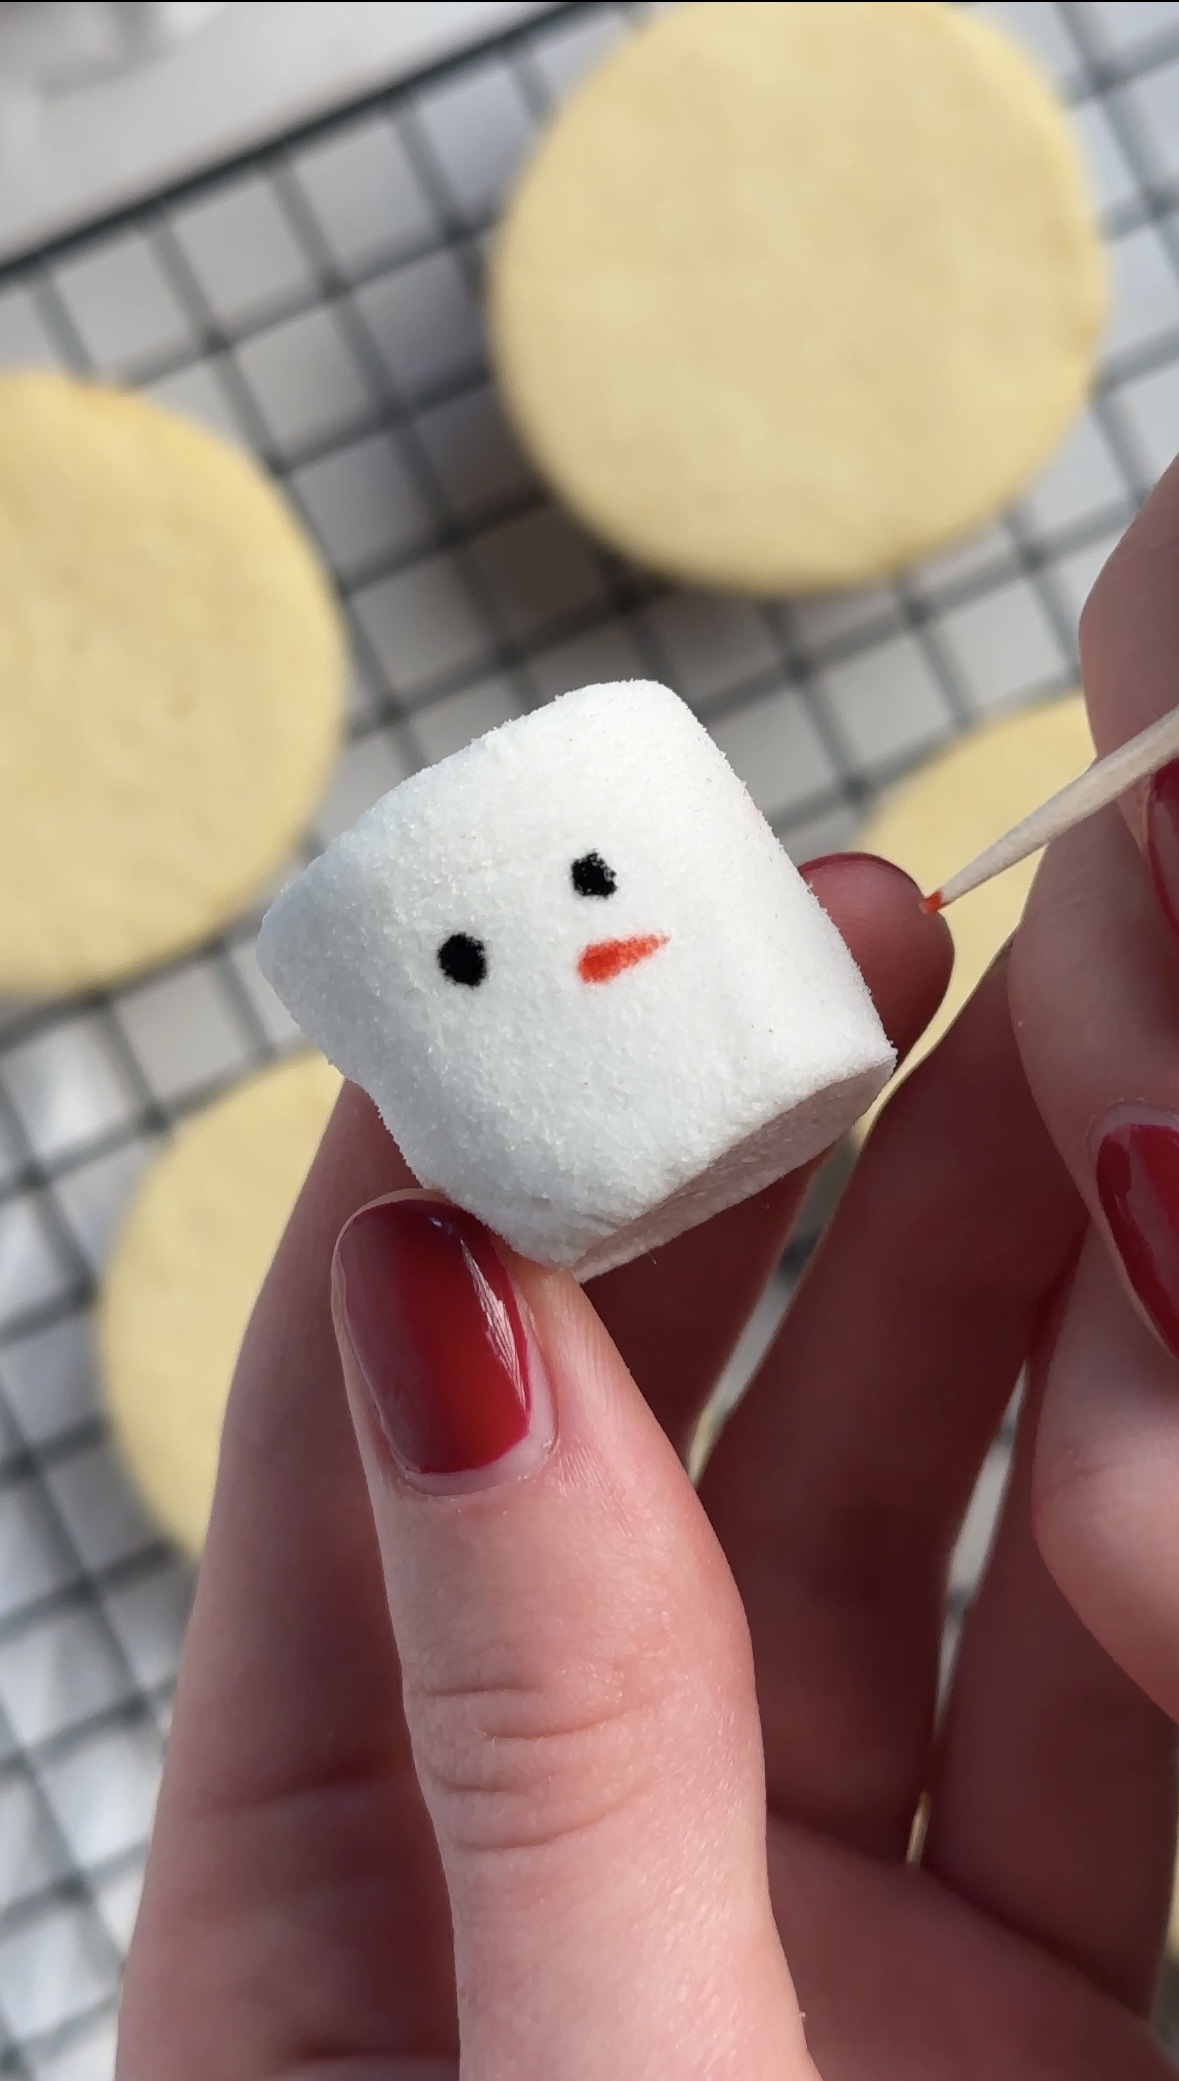
- Food Coloring: For drawing the snowman faces on the marshmallows.
- Chocolate Chips or Sprinkles: For decorating the snowman’s buttons.
- Melted Chocolate: For drawing twig-like arms on the cookies.
You’ll need the following tools for making the Melted Snowman Sugar Cookies:
- Mixing Bowls: A large bowl for combining the cookie dough ingredients and a smaller one for measuring.
- Measuring Scale: To accurately measure all your ingredients in grams.
- Hand Mixer or Stand Mixer: For creaming the butter and sugars, and mixing the dough.
- Spatula: To fold in the dry ingredients and combine the mixtures.
- Baking Sheet: For baking the cookies.
- Parchment Paper: To line the baking sheet, preventing the cookies from sticking.
- Cookie Cutter: To evenly portion the dough.
- Cooling Rack: For allowing the cookies to cool evenly after baking.
- Piping Bag: To add the frosting to the cookies.
- Rolling Pin: To roll out the dough.
Here is the full Recipe:
Ingredients:
Cookie Base:
- 275 g (2 ¼ cups) all-purpose flour
- 125 g (½ cup) softened butter
- 1 medium egg
- ¼ tsp ground vanilla or ½ tsp vanilla extract
- 115 g (½ cup) granulated sugar
- 1 pinch of salt
Decorations:
- 8-10 marshmallows (cut in half)
- Powdered sugar icing (made by mixing powdered sugar and a little water)
- Black food coloring (for snowman faces, applied with a toothpick)
- Chocolate drops or sprinkles (for buttons)
- Melted chocolate (for arms)
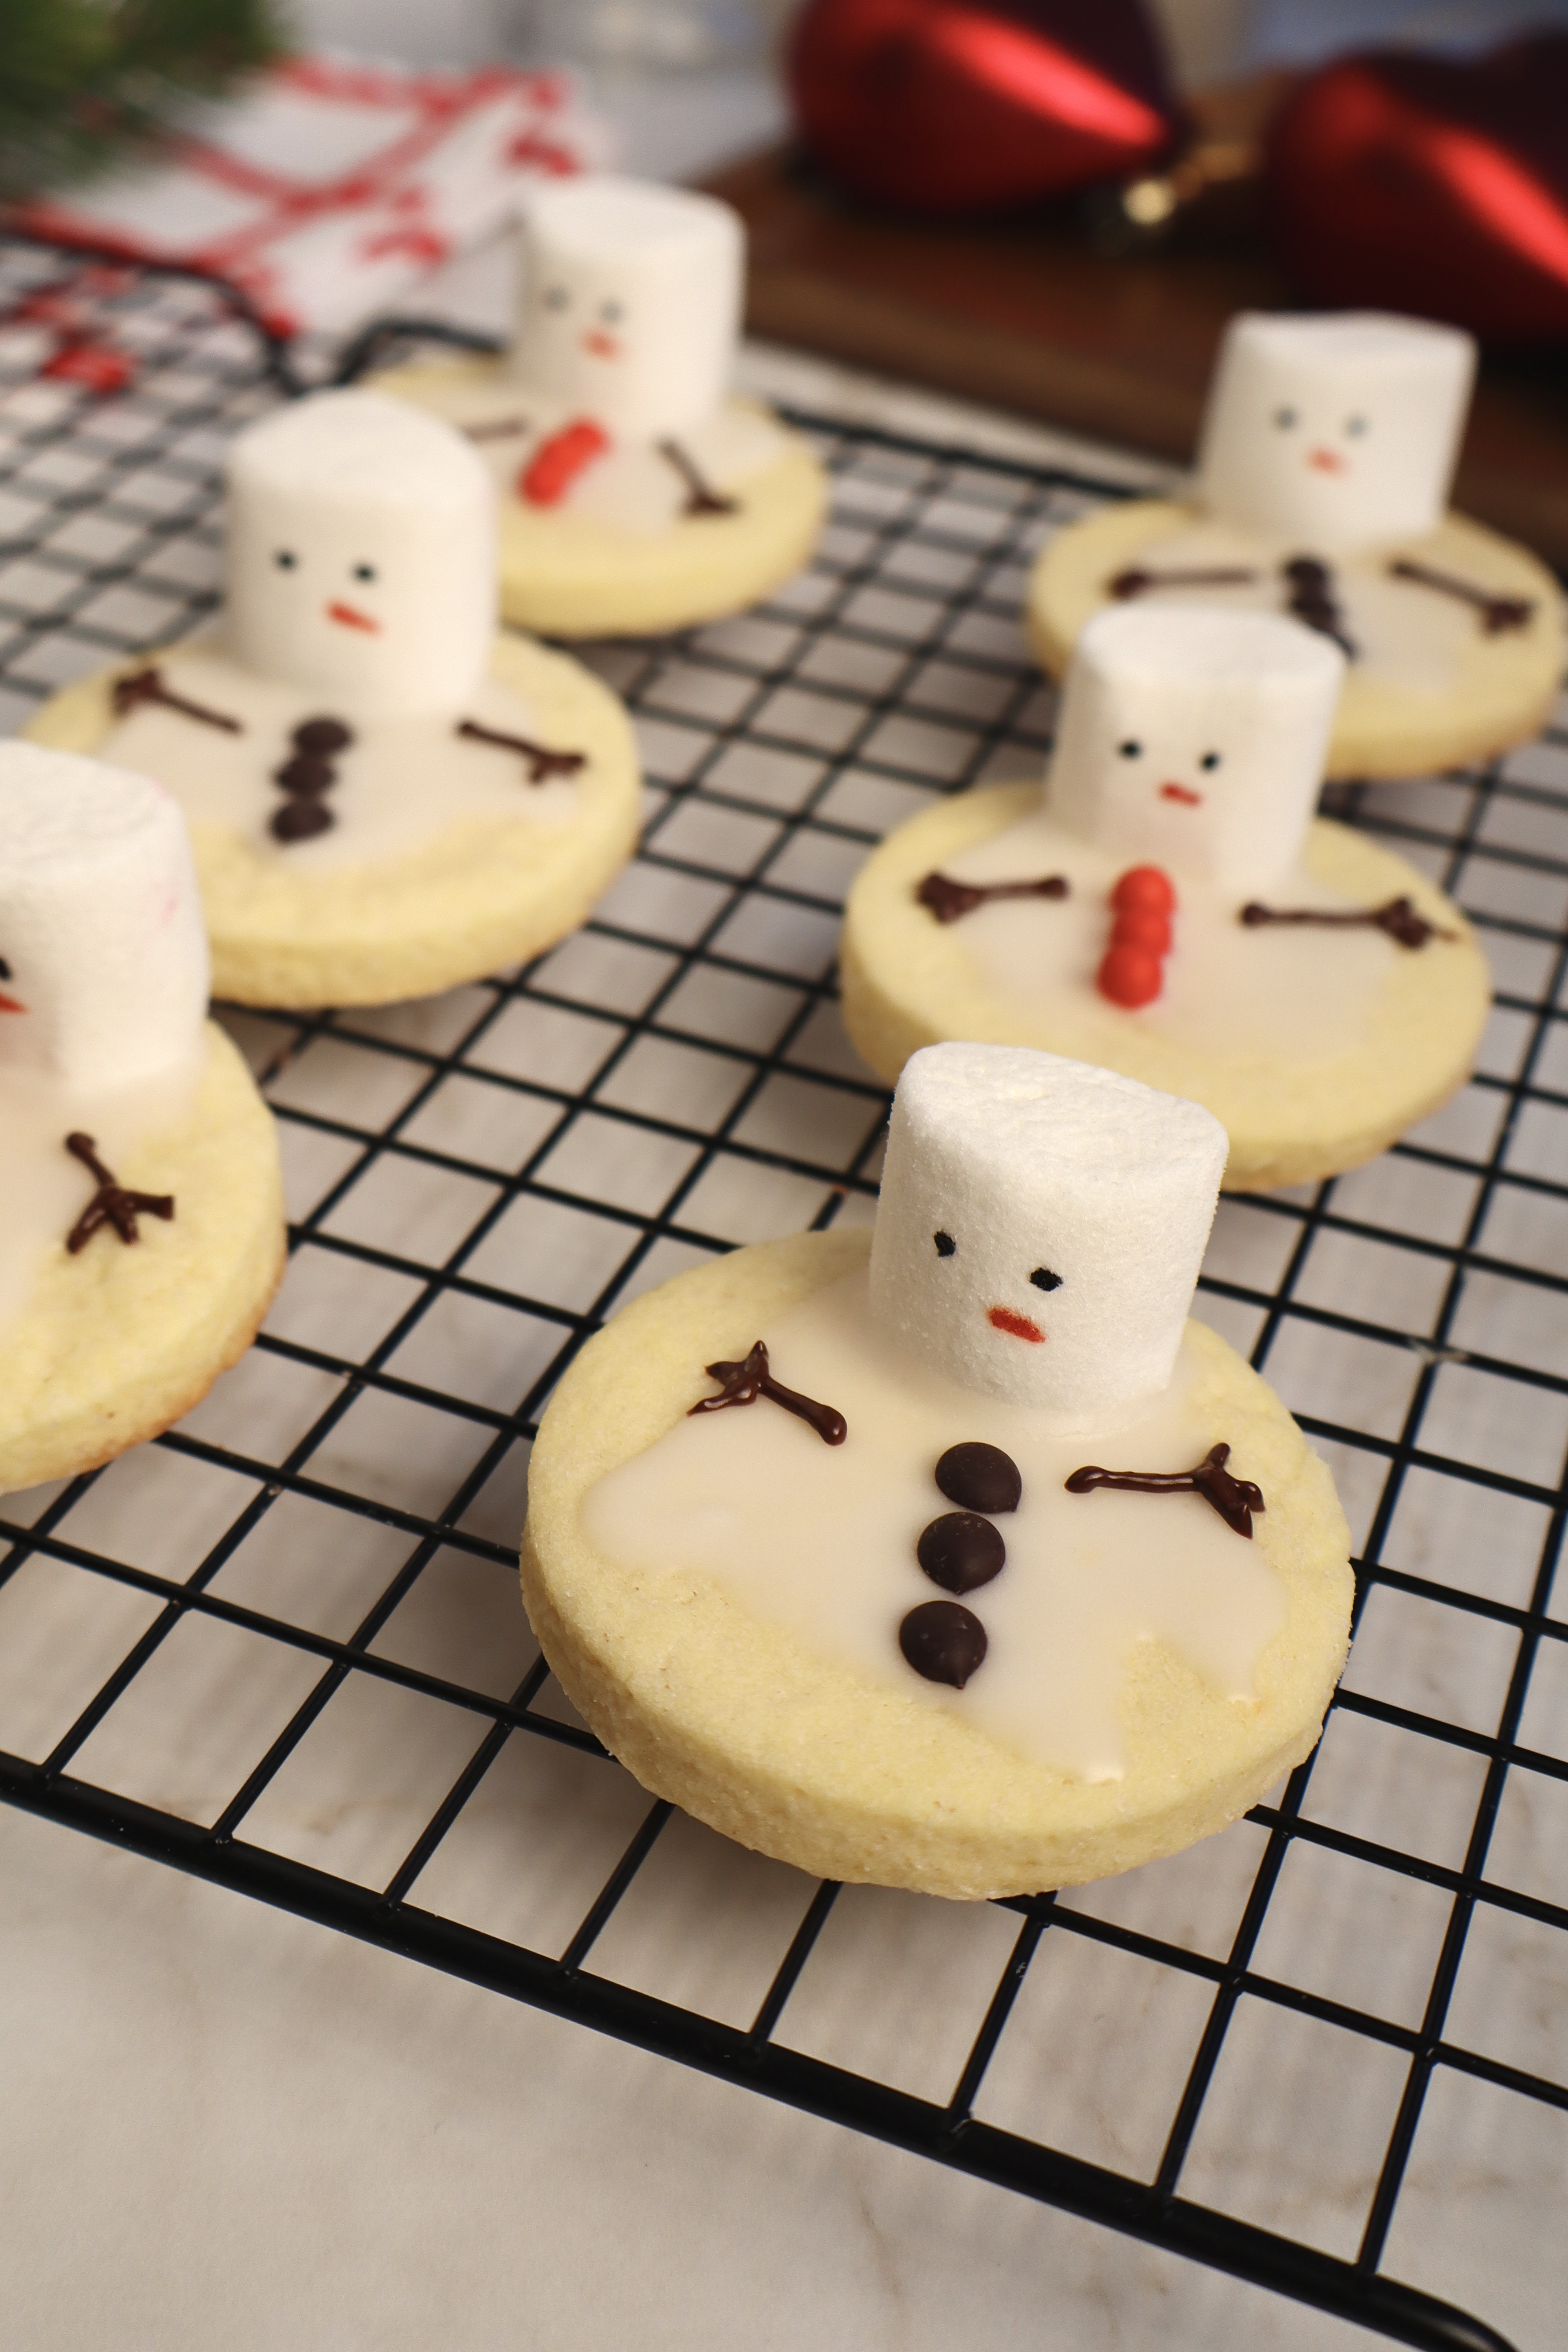
Directions:
Make the Sugar Cookie Dough
- Cream the Butter and Sugar: In a large mixing bowl, beat the softened butter and sugar together until light and fluffy. This will take about 2-3 minutes with a hand mixer or stand mixer.
- Add the Wet Ingredients: Add the egg then stir in the vanilla powder or extract.
- Incorporate Dry Ingredients: Gradually add the flour and salt to the wet mixture. Use a spatula or the mixer on low speed to combine until a smooth dough forms.
- Chill the Dough: Wrap the dough in plastic wrap and refrigerate for at least 30 minutes. Chilling makes it easier to roll out and ensures the cookies hold their shape during baking.
Roll, Cut, and Bake
- Preheat the Oven: Set your oven to 175°C (350°F) and line two baking sheets with parchment paper.
- Roll Out the Dough: On a lightly floured surface, roll out the dough to about ¼ inch (0.5 cm) thick.
- Cut Out Cookies: Use a round cookie cutter (or a glass) to cut out circles for the base of the melted snowmen.
- Bake: Place the cookies on the prepared baking sheets, leaving a little space between each one. Bake for 10-12 minutes, or until the edges are lightly golden. Allow the cookies to cool completely on a wire rack before decorating.
Create the Marshmallow Heads
- Cut the Marshmallows: Cut each marshmallow in half to create a flat base that will stick to the icing.
- Draw the Faces: Use a toothpick dipped in black and orange food coloring to create eyes, a mouth if you like, and a carrot-shaped nose on each marshmallow. Let them dry completely before assembling.
Make the Icing
- Mix the powdered sugar with small amounts of water (1 teaspoon at a time) until you reach a thick but spreadable consistency. You can also add a drop of vanilla extract for flavor. The icing will act as “snow” on your cookies.
Assemble the Melted Snowmen
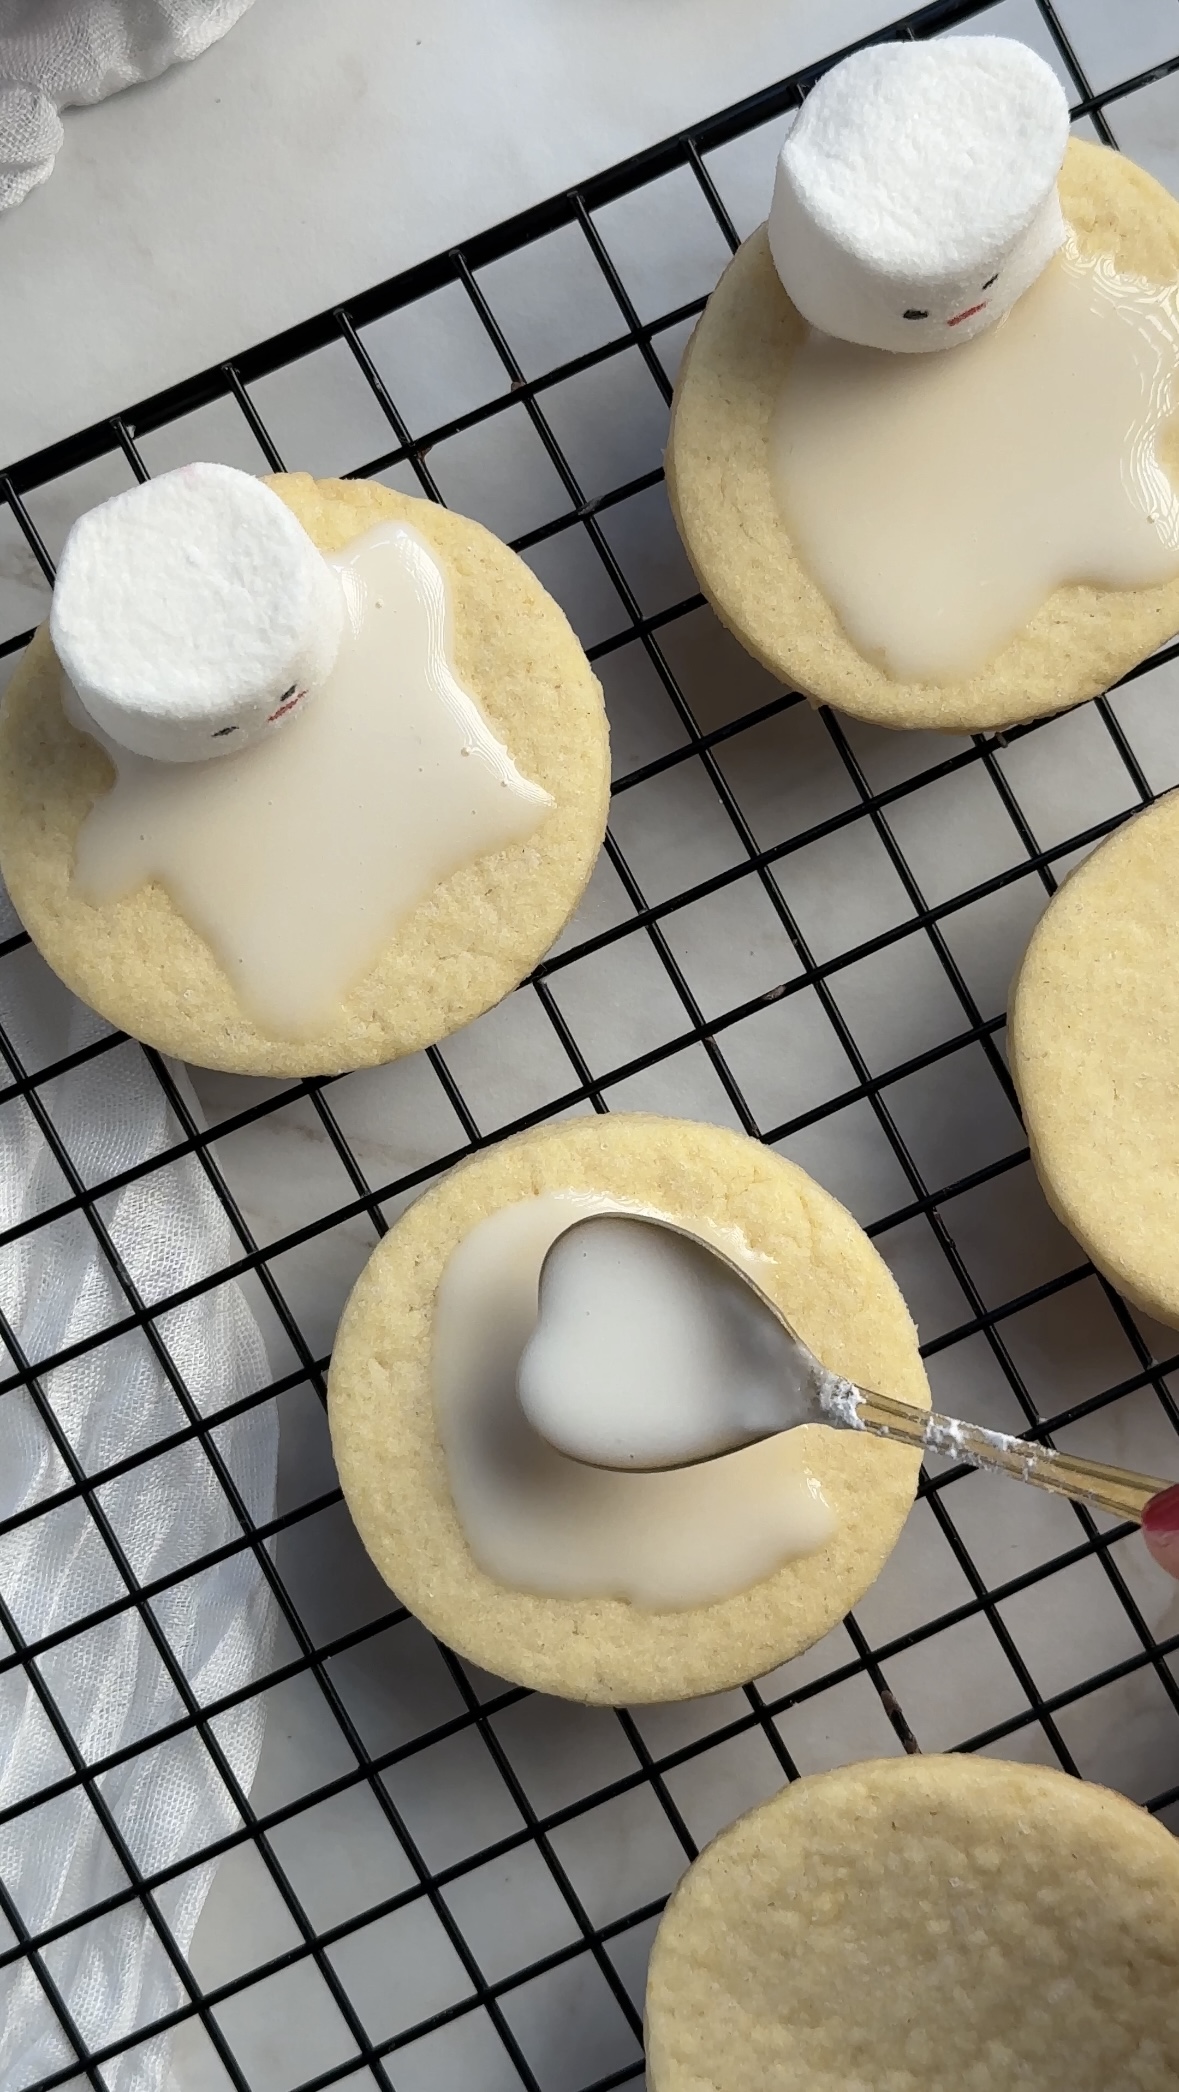
- Spread the Icing: Use a spoon or small offset spatula to spread a puddle of icing on each cookie, creating the melted snow effect.
- Add the Marshmallow Heads: While the icing is still wet, press a marshmallow “head” onto one edge of each cookie.
- Add Buttons: Place chocolate chips, mini candies, or sprinkles onto the icing to represent the snowman’s buttons.
- Draw the Arms: Use melted chocolate and a piping bag (or a small zip-top bag with the corner snipped off) to draw twig-like arms extending from the icing puddle.
Let Them Set
- Allow the cookies to sit at room temperature until the icing and decorations have fully set. This can take 1-2 hours depending on humidity.
Tips & Tricks:
Tips for the Cookies:
- Chill the Dough: Always chill the sugar cookie dough before rolling it out. This prevents the cookies from spreading too much in the oven.
- Get Creative: Use your imagination with the decorations! Add scarves made from colored fondant or tiny hats made from candies.
- Work Quickly with Icing: The icing dries quickly, so assemble each cookie immediately after spreading the icing.
- Use Quality Food Coloring: Gel food coloring works best for drawing the snowman faces because it is more vibrant and less runny than liquid coloring.
- Store Properly: Store the finished cookies in an airtight container for up to 5 days. If stacking, place a sheet of parchment paper between layers to avoid smudging the decorations.
Fun Variations:
- Add Sparkle: Sprinkle edible glitter over the icing for a frosty effect.
- Holiday Flavors: Mix a little cinnamon or nutmeg into the sugar cookie dough for a spiced version.
- Mini Snowmen: Use mini marshmallows for smaller cookies that are perfect for little hands.
Pack these cookies in clear cellophane bags tied with festive ribbon for a homemade gift that’s sure to bring a smile.
More Christmas Baking Ideas:
- Marbled Chocolate Christmas Cookies – Elegant and easy, these buttery cookies are decorated with swirls of white and dark chocolate for a dazzling holiday treat.
- Santa Hat Cookies – These jam-filled Linzer cookies shaped like Santa hats will be the highlight of your cookie exchange this year!
- Cinnamon Stars (Zimtsterne) – A German Christmas classic, these star-shaped cookies are made with almonds, hazelnuts, and a sweet glaze, delivering a taste of tradition with every bite.
- Roasted Matcha Cookies – With their unique roasted matcha flavor and creamy topping, these cookies bring a modern twist to your holiday treats.
- Grinch Crinkle Cookies – These bright green cookies are fun, festive, and finished with a sweet sugar heart, making them the perfect treat to spread Christmas cheer.
Watch the recipe video here. Let’s get to baking! Here is the full recipe:
