
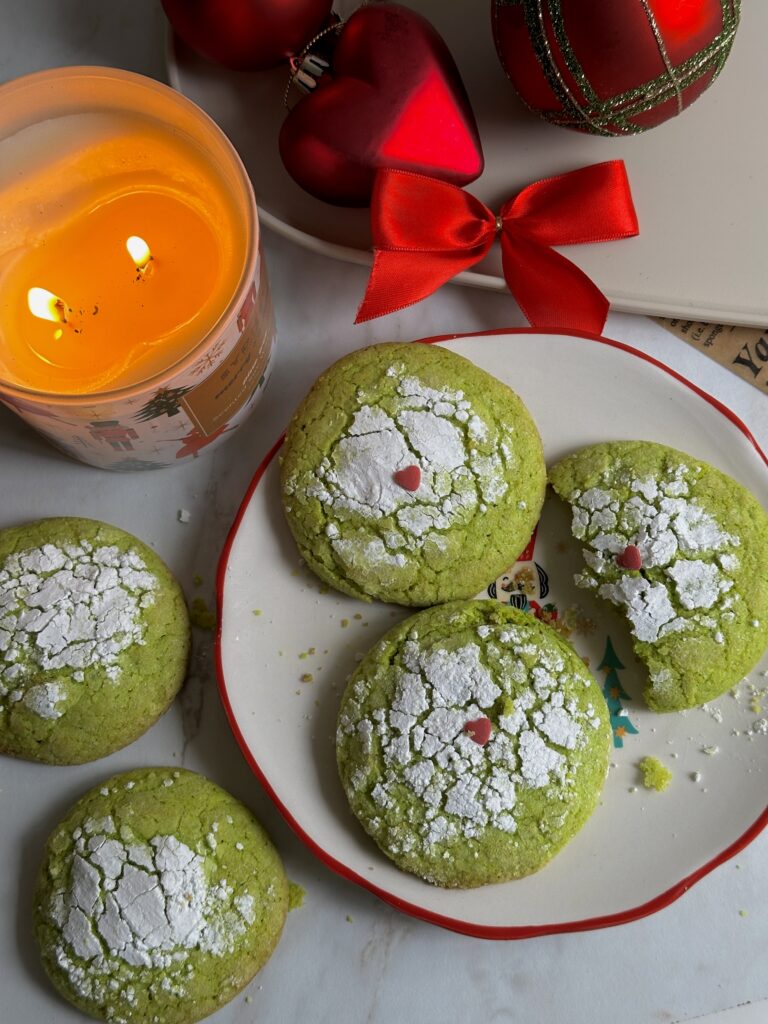
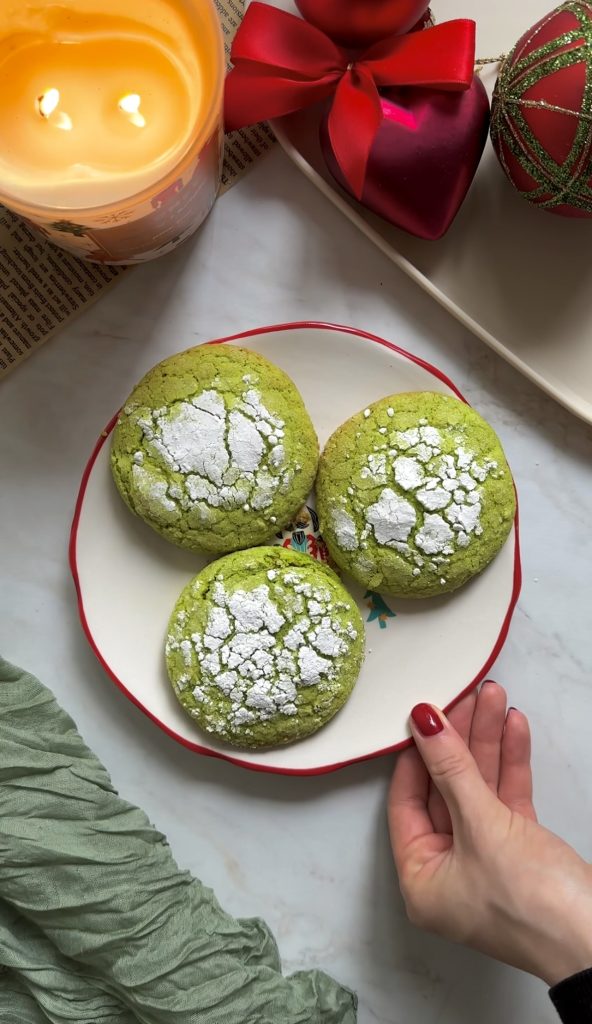
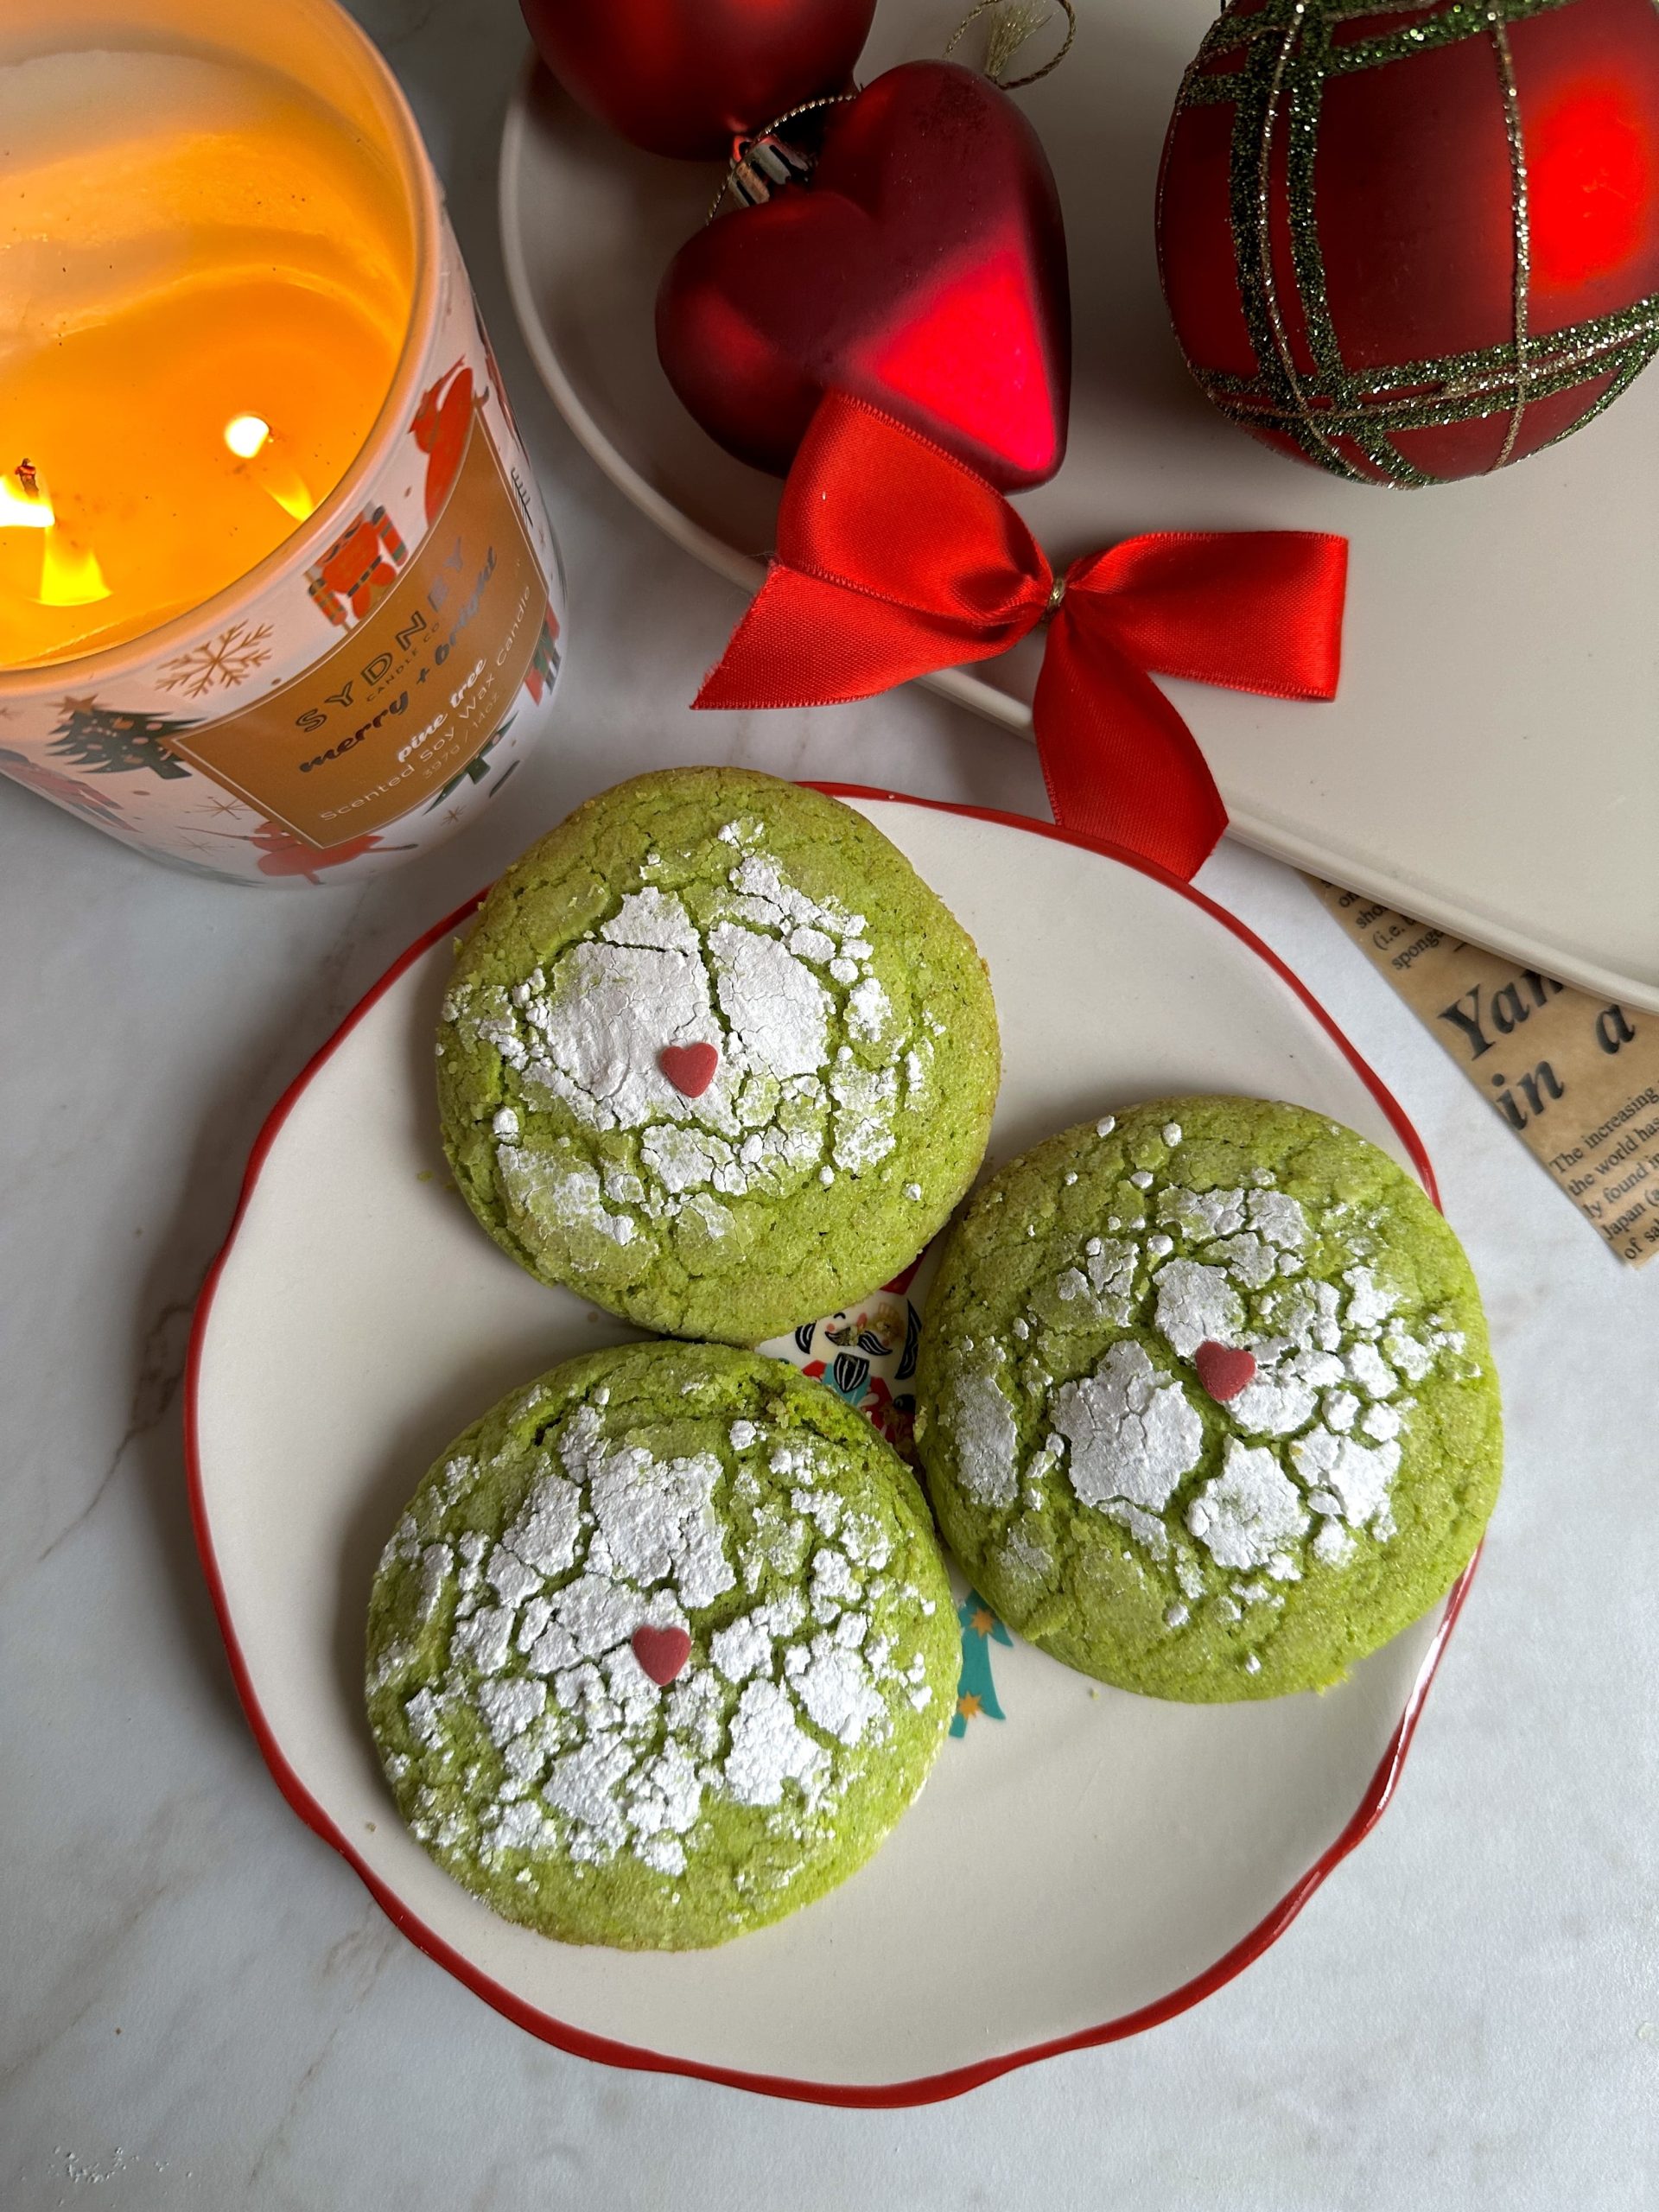
If you’re looking for the perfect festive treat to steal the hearts of your family and friends this holiday season, these Grinch Crinkle Cookies are it! With their vibrant green color, soft texture, and adorable sugar sprinkle hearts in the middle, these cookies are inspired by everyone’s favorite holiday mischief-maker. They’re sure to bring a smile to your face, even if your heart might be “two sizes too small.”
Ingredients You’ll Need for the Grinch Cookies:
For the Cookie Dough:
- Unsalted butter: To create a rich, buttery flavor base.
- Granulated sugar: Balances sweetness and helps the cookies spread slightly.
- Egg + Egg yolk: Binds ingredients together and adds richness.
- Vanilla extract: Enhances the flavors of the cookie.
- All-purpose flour: Forms the structure of the cookies.
- Baking soda: Contributes to the cookies’ slight rise and softness.
- Baking powder: Works with baking soda for ideal texture and rise.
- Salt: Balances sweetness and enhances overall flavor.
- Green gel food coloring: For the signature Grinch-inspired color.
For Rolling the Cookies:
- Granulated sugar: Creates a barrier to keep the powdered sugar dry and enhances the crinkle effect.
- Powdered sugar: Coats the cookies to give them their iconic crinkle appearance.
For Decoration:
- Red heart-shaped sugar sprinkles: Adds a festive, Grinch-inspired touch to the center of each cookie.
You’ll need the following tools for making the Grinch Cookies:
- Mixing Bowls: A large bowl for combining the cookie dough ingredients and smaller ones for measuring.
- Measuring Scale: To accurately measure all your ingredients in grams.
- Hand Mixer or Stand Mixer: For creaming the butter and sugars, and mixing the dough.
- Spatula: To fold in the dry ingredients and combine the mixtures.
- Baking Sheet: For baking the cookies.
- Parchment Paper: To line the baking sheet, preventing the cookies from sticking.
- Cookie Scoop: To evenly portion out the dough.
- Cooling Rack: For allowing the cookies to cool evenly after baking.
Here is the full Recipe:
Ingredients:
For the Cookies:
- 114 grams (½ cup) unsalted butter, at room temperature
- 200 grams (1 cup) granulated sugar
- 1 large egg + 1 large egg yolk
- 1 teaspoon vanilla extract
- 6-8 drops green gel food coloring (adjust for desired shade of green)
- 250 grams (2 cups) all-purpose flour
- ¾ teaspoon baking powder
- ¼ teaspoon baking soda
- ½ teaspoon salt
For coating & decorating:
- 67 grams (⅓ cup) granulated sugar (for rolling)
- 40 grams (⅓ cup) powdered sugar (for rolling)
- 20-24 red heart-shaped sugar sprinkles (for the center)

Directions:
Prepare the Dough:
- Preheat and Prepare: Preheat your oven to 350°F (175°C) and line a baking sheet with parchment paper. This will prevent the cookies from sticking and ensure even baking.
- Cream Butter and Sugar: In a stand mixer fitted with the paddle attachment, combine the butter and granulated sugar. Beat on medium speed until the mixture is light, fluffy, and pale in color—this usually takes about 3 minutes. This step is essential for creating the cookies’ soft texture.
- Add the Wet Ingredients: Scrape down the sides of the mixing bowl with a rubber spatula, then add the egg, egg yolk, and vanilla extract. Mix on medium speed until smooth and fully incorporated. Now add the green gel food coloring, starting with 6 drops and adjusting to get that perfect Grinchy green hue.
- Combine Dry Ingredients: In a separate bowl, whisk together the all-purpose flour, baking powder, baking soda, and salt. Slowly add the dry mixture to the wet ingredients, stirring on low speed. Mix just until the dough comes together, and no streaks of flour remain. Be careful not to overmix, as this can make the cookies tough.
Coat the Cookies:
- Roll and Coat the Dough: Prepare two small bowls: one with granulated sugar and the other with powdered sugar. Using a 1.5-ounce cookie scoop (or a tablespoon), scoop the cookie dough into balls. Roll each ball first in the granulated sugar to create a protective layer, then roll it in the powdered sugar for the classic crinkle look.
- Place on Baking Sheet: Arrange the cookie dough balls on the prepared baking sheet, spacing them about 2 inches apart to allow for spreading.
- Add the Heart Sprinkles: Before placing the cookies in the oven, gently press a red heart-shaped sugar sprinkle into the center of each cookie. This creates the signature Grinch look and adds a sweet decorative touch.
Bake & Serve:
- Bake to Perfection: Bake the cookies for 10-12 minutes, or until the edges are set and the centers have puffed up. The cookies should still look slightly underbaked in the middle—this ensures a gooey, tender texture. Remember, the cookies will continue to set as they cool.
- Cool Completely: Let the cookies cool on the baking sheet for about 5 minutes before transferring them to a wire rack to cool completely.
Tips & Tricks:
Tips for the Cookies:
- Food Coloring: Use gel food coloring for vibrant color without altering the dough’s consistency. Liquid food coloring can make the dough too wet.
- Rolling Sugar Coats: Coating the dough balls in granulated sugar before powdered sugar helps the powdered layer stay dry and creates more pronounced crinkles.
- Chill Time: If your dough feels too soft or sticky to roll, refrigerate it for 20-30 minutes. Chilling helps prevent the cookies from spreading too much during baking.
- Heart Placement: Press the sugar sprinkle hearts gently but firmly to ensure they stick without flattening the cookies too much.
General Tips:
- Cookie Size: Use a cookie scoop or spoon to ensure uniform cookie sizes. This helps them bake evenly and ensures they are all done at the same time.
- Baking Sheets: Use parchment paper or silicone baking mats to prevent the cookies from sticking and to promote even baking. If you don’t have either, make sure to lightly grease the baking sheets.
- Cooling: Let the cookies cool on the baking sheet for a few minutes before transferring them to a wire rack. This helps them set and prevents them from breaking apart.
- Serving: Serve these cookies slightly warm or at room temperature. They pair wonderfully with a cup of coffee or hot chocolate, making them perfect for a cozy afternoon snack or dessert.
Customizing Your Cookies:
- Flavor Variations: If you want to add a unique twist, try incorporating a teaspoon of peppermint extract or almond extract instead of vanilla.
- Different Sprinkles: Don’t have heart-shaped sprinkles? Use star-shaped or any festive red sprinkles for a similar effect.
- Gluten-Free Option: Substitute the all-purpose flour with a 1:1 gluten-free baking blend to make these cookies suitable for everyone.
More Christmas Baking Ideas:
- Marbled Chocolate Christmas Cookies – Elegant and easy, these buttery cookies are decorated with swirls of white and dark chocolate for a dazzling holiday treat.
- Santa Hat Cookies – These jam-filled Linzer cookies shaped like Santa hats will be the highlight of your cookie exchange this year!
- Melted Snowman Cookies – Creative and delicious, these cookies feature melted marshmallows and charming decorations for a frosty holiday vibe.
- Cinnamon Stars (Zimtsterne) – A timeless classic made with nuts and cinnamon, these star-shaped cookies are a staple of holiday baking.
- Roasted Matcha Cookies – With their unique roasted matcha flavor and creamy topping, these cookies bring a modern twist to your holiday treats.
Watch the recipe video here. Let’s get to baking! Here is the full recipe:
Summary
Recipe Name
Author Name
Grinch Cookies
Isabel
Published On