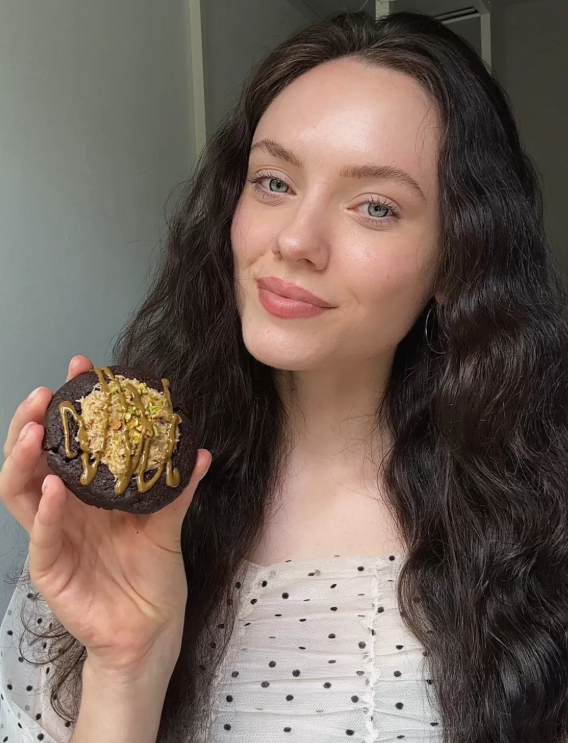

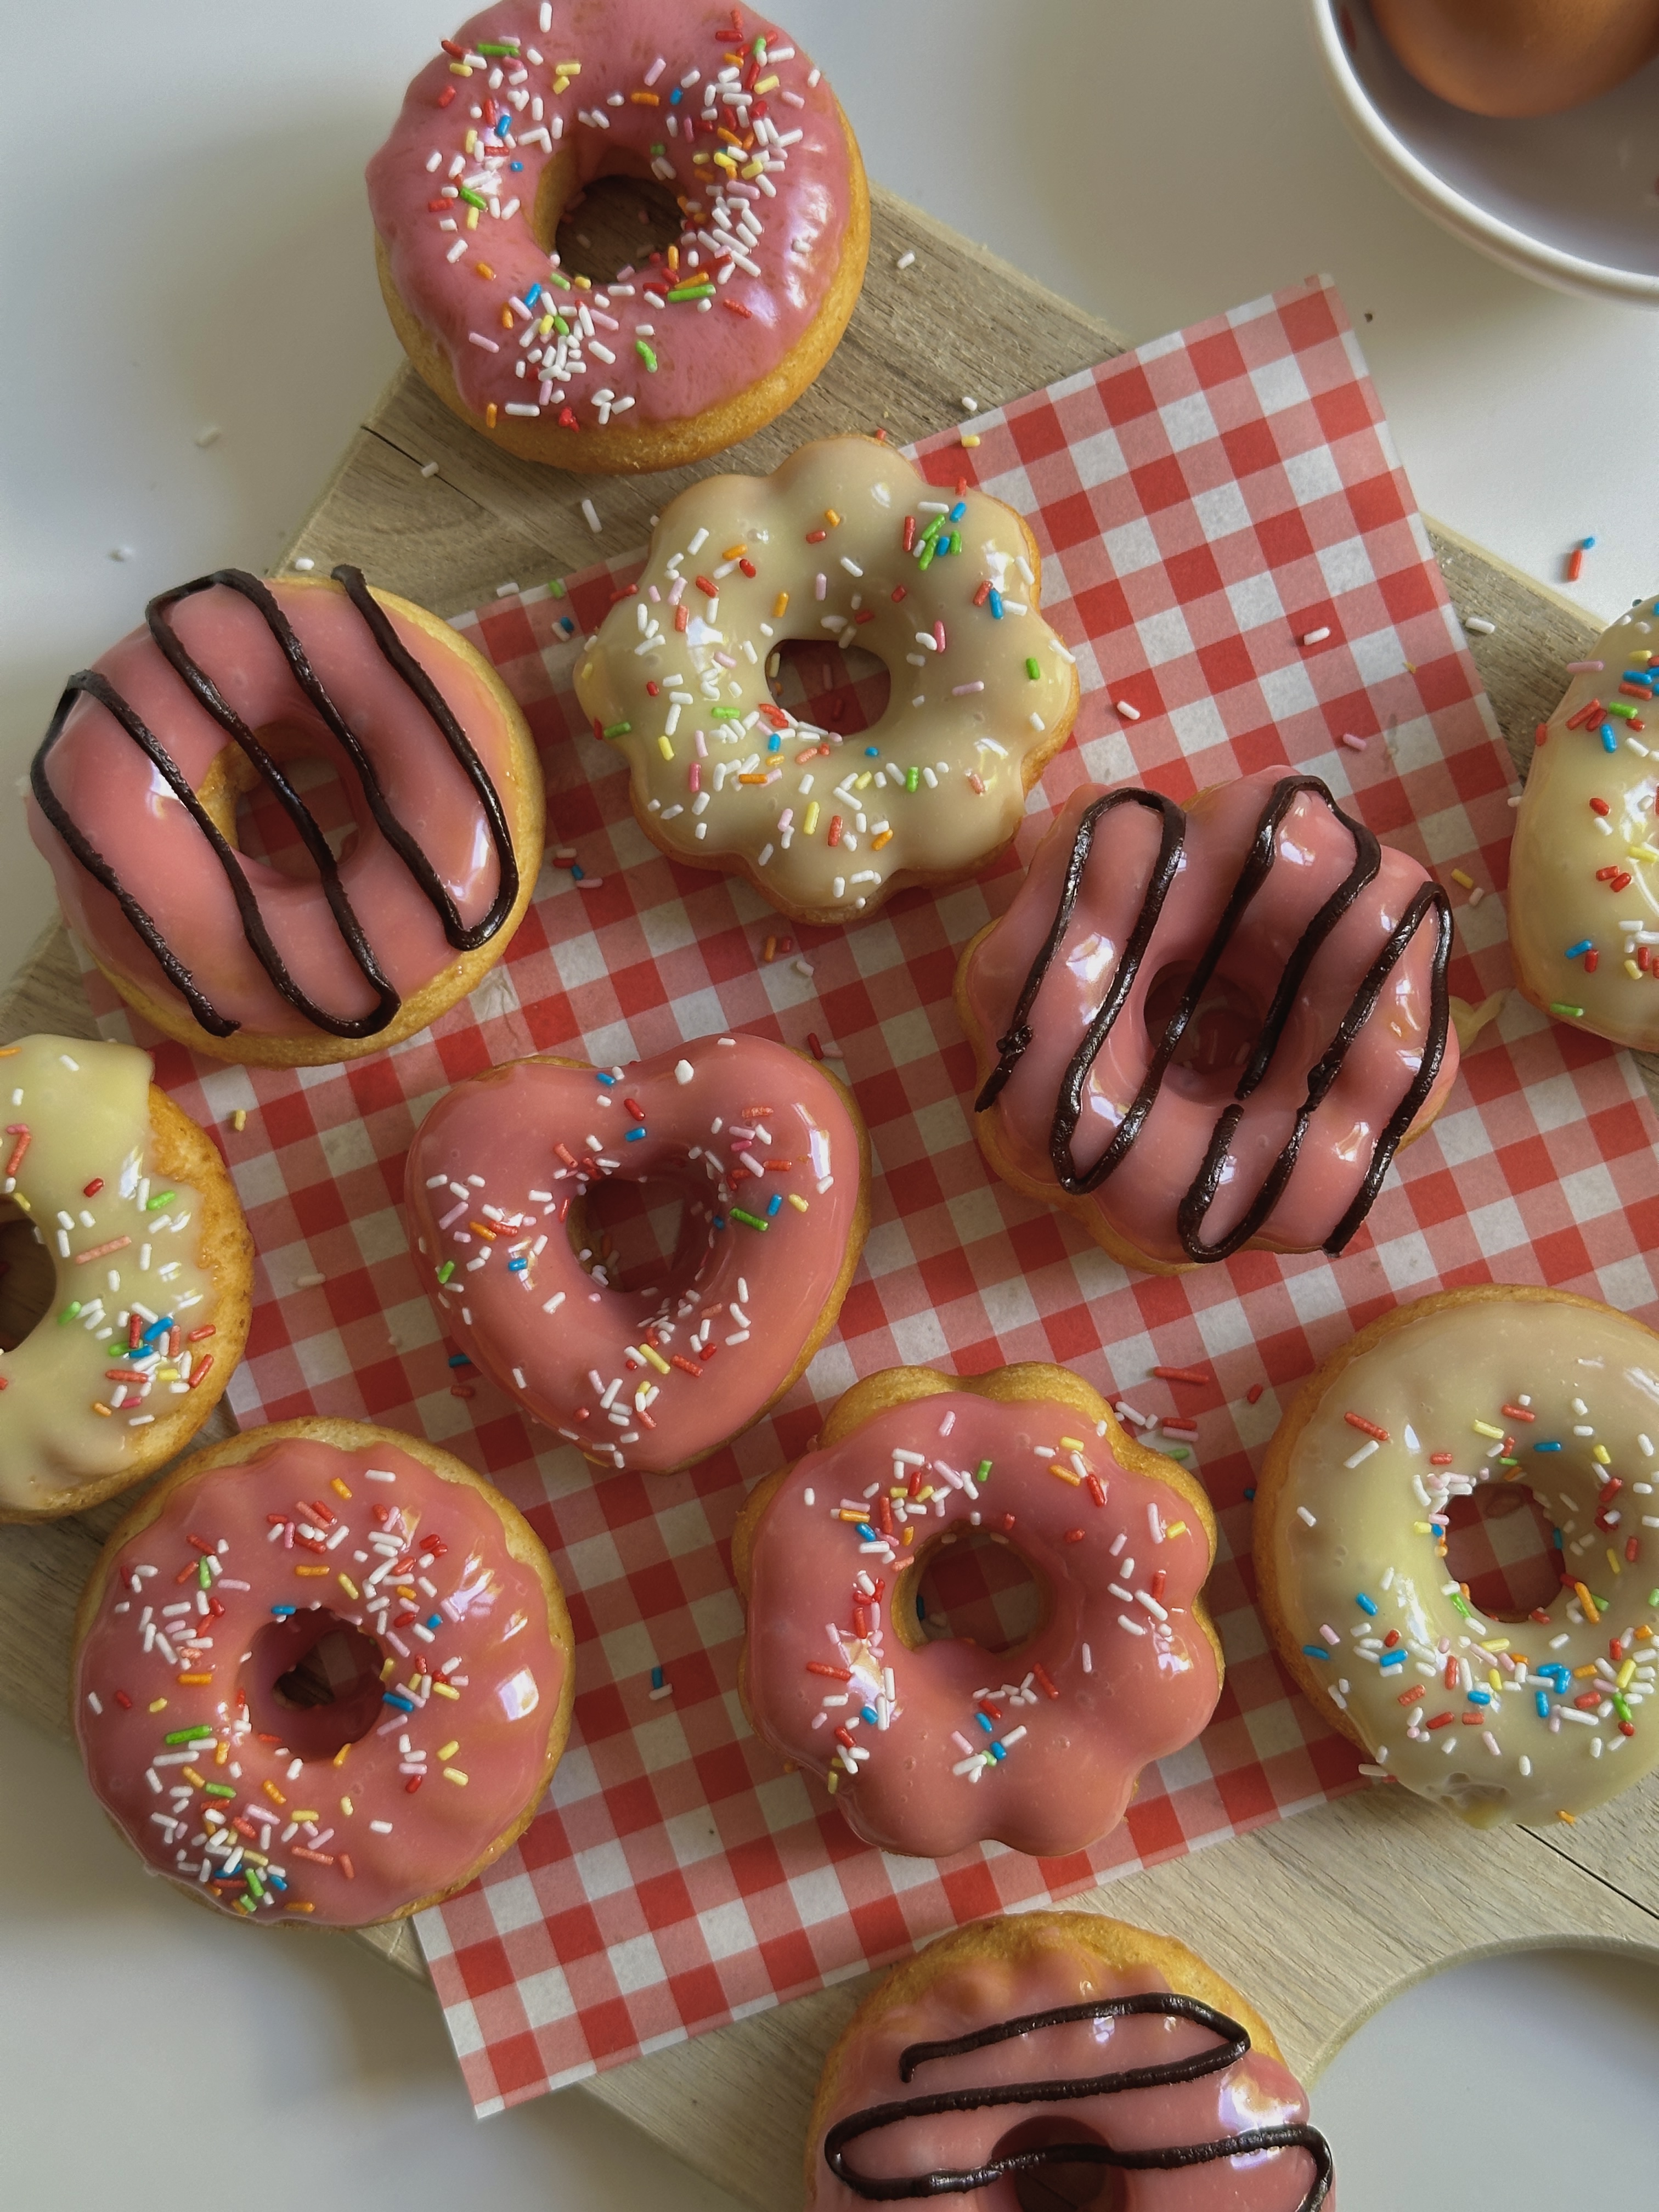
These homemade ovenbaked mini donuts are so easy to make and perfect for any occasion. Whether you’re hosting a brunch, celebrating a special event, or just craving a sweet treat, these mini donuts are a delightful choice. With their soft, fluffy texture and endless possibilities for toppings and glazes, they can be customized to suit any flavor preference. Serve them fresh from the oven, and watch them disappear in no time!
Ingredients You’ll Need for the Ovenbaked Mini Donuts:
For the Mini Donuts:
- Flour: Provides the structure and base for the donuts.
- Sugar: Adds sweetness to the donuts.
- Salt: Enhances the flavor.
- Baking powder: Helps the donuts rise and become fluffy.
- Vanilla extract: Adds a delicious vanilla flavor.
- Warm milk: Moistens the batter and keeps the donuts soft.
- Butter: Adds richness and moisture.
- Egg: Helps bind the ingredients together and adds moisture.
For the Glaze:
- White/dark chocolate: The base of the glaze.
- Heavy cream: To melt the chocolate and create a smooth glaze.
- Food coloring (optional): For adding fun colors to your glaze.
- Sprinkles: For sprinkling on top.

Tools You Need for the Perfect Ovenbaked Mini Donuts:
- Mini Donut Pan: This specialized pan is essential for shaping the dough into perfect little donuts. Look for a non-stick version to make removing the donuts a breeze.
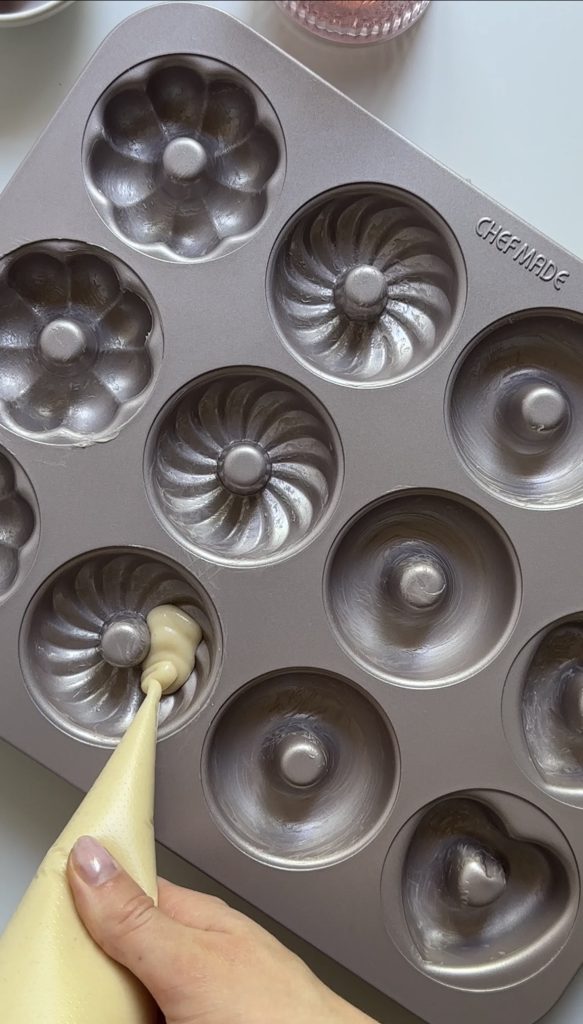
- Piping Bag: A piping bag with a round tip makes it easy to neatly fill the donut cavities with batter. If you don’t have one, a ziplock bag with a corner snipped off works well too.
- Whisk and Mixing Bowls: These will help you combine your ingredients smoothly, ensuring the batter is lump-free and well-mixed.
- Cooling Rack: A wire cooling rack allows the donuts to cool evenly after baking, preventing them from becoming soggy on the bottom.
- Pastry Brush: If you’re glazing your donuts, a pastry brush will help you evenly coat them with glaze, ensuring each bite is deliciously sweet.
Here is the full Recipe:
Ingredients:
For the Donuts:
- 250 g (2 cups) flour
- 250 g (1 1/4 cups) sugar
- 1/2 tsp salt
- 2 tsp baking powder
- 1 tsp vanilla extract
- 250 ml (1 cup) warm milk
- 30 g (2 tbsp) melted butter
- 1 egg
For the Glaze:
- 80 g (1/2 cup) white/dark chocolate
- 50-60 ml (3-4 tbsp) hot heavy cream
- Food coloring (optional)
- Sprinkles (optional)
Directions:
- Preheat the oven to 175°C (350°F).
- Mix dry ingredients: In a large bowl, combine flour, sugar, salt, and baking powder.
- Mix wet ingredients: In a separate bowl, mix 1 teaspoon vanilla extract, warm milk, melted butter, and the egg until well combined.
- Combine dry and wet ingredients: Pour the wet ingredients into the dry ingredients and mix until the batter is smooth.
- Fill the donut pan: Grease your donut pan and fill each cavity with the batter.
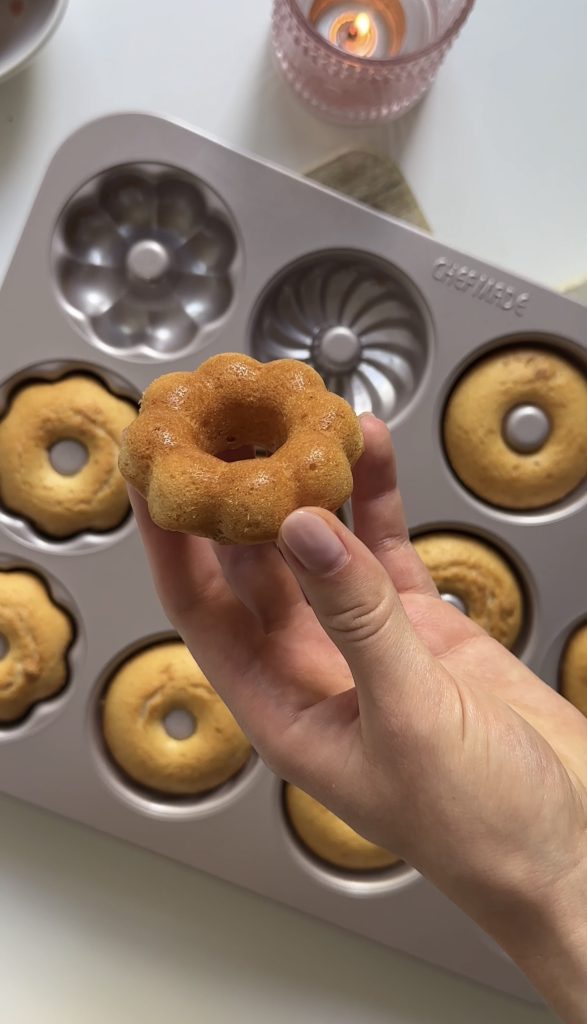
- Bake: Bake at 175°C (350°F) for 20-25 minutes, or until a toothpick inserted into the donuts comes out clean.
- Prepare the glaze: Melt 80 grams of white or dark chocolate with hot heavy cream. Add food coloring if desired.
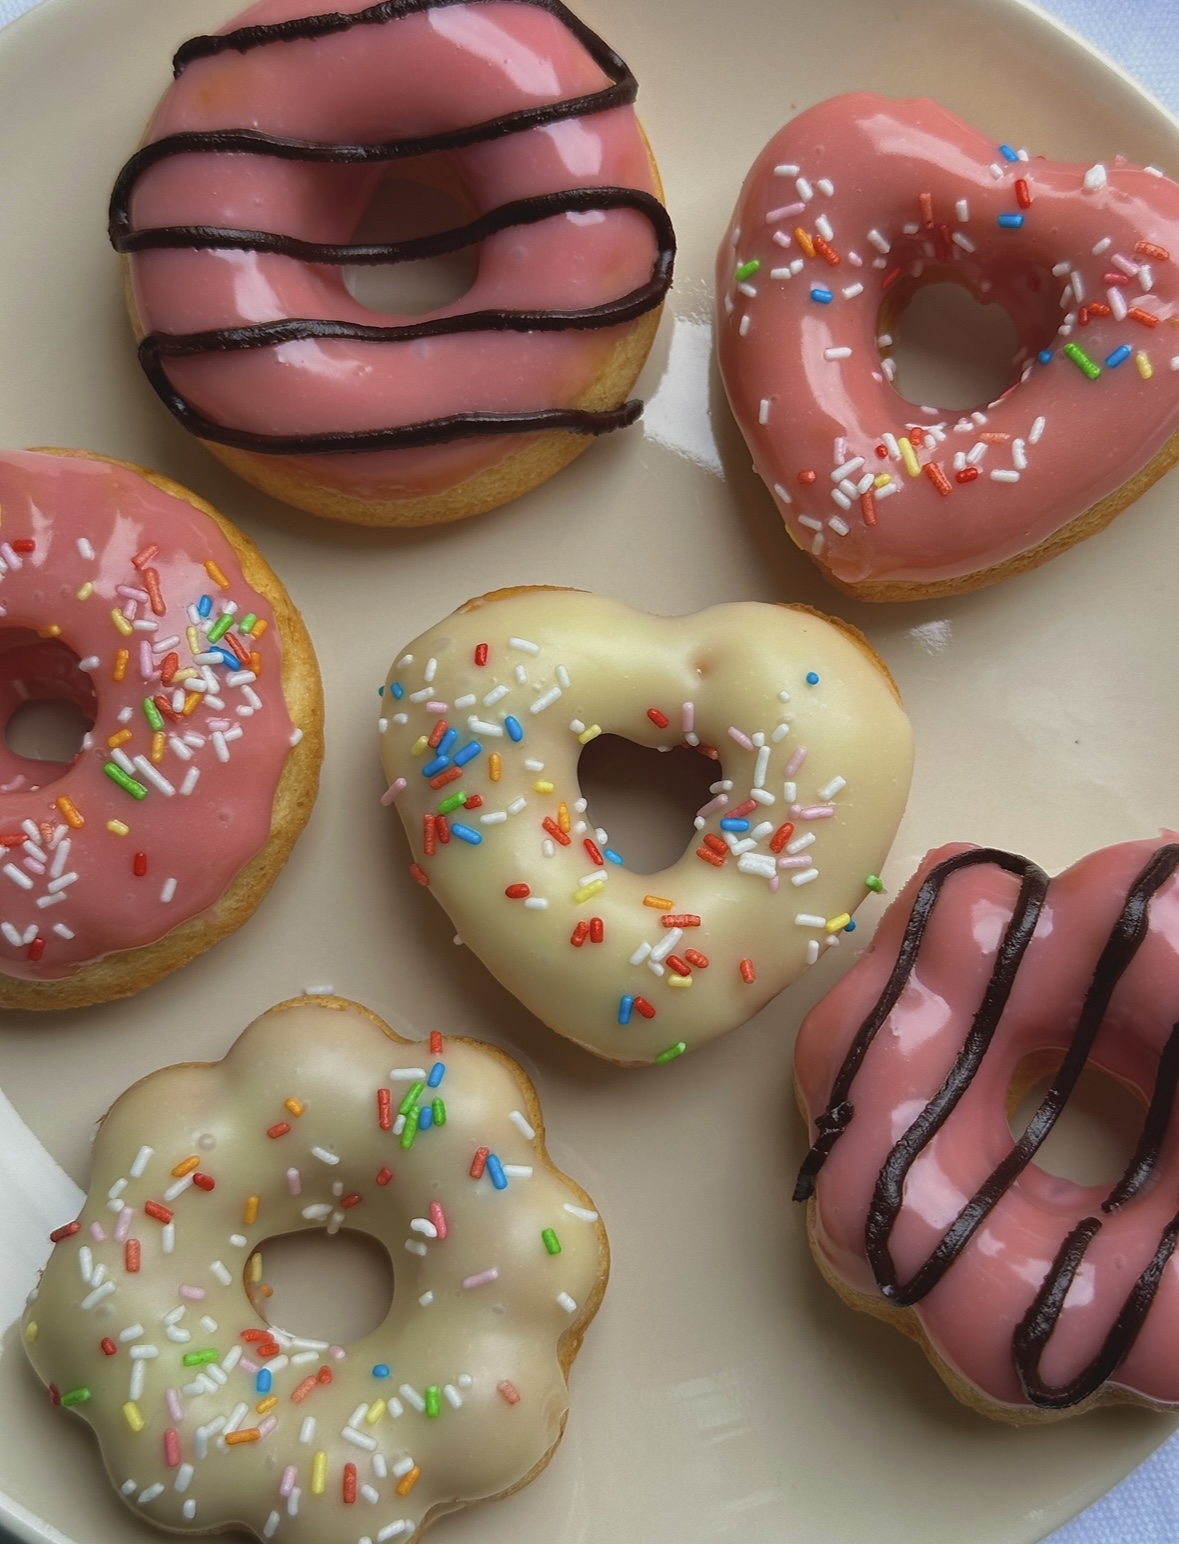
- Decorate: Dip the cooled donuts into the glaze and decorate as you like.
- Enjoy: Once the glaze is set, your adorable homemade donuts are ready to enjoy!
Tips and Tricks:
Tips for the Donuts:
- Use Room Temperature Ingredients: For the best texture, use ingredients like eggs, milk, and butter at room temperature. This helps the batter come together smoothly and results in a more even rise.
- Don’t Overmix the Batter: Mix the batter until just combined. Overmixing can lead to dense donuts. A few lumps are okay; the key is to avoid overworking the batter.
- Experiment with Flavors and Toppings: Feel free to experiment with different flavors by adding spices, extracts, or citrus zest to the batter. You can also top your donuts with a variety of coatings like powdered sugar, cinnamon sugar, or chocolate glaze. Add sprinkles, nuts, or edible glitter for an extra fun touch!
General Tips:
- Grease the Pan Well: Ensure that you generously grease the mini donut pan or use a non-stick spray to prevent the donuts from sticking. Even with a non-stick pan, greasing is crucial for easy removal.
- Use a Piping Bag for Precision: To ensure even distribution of the batter into the donut pan, use a piping bag or a plastic bag with the tip cut off. This helps you fill the cavities neatly and avoids spills.
- Check Donuts Early: Start checking the donuts a couple of minutes before the recommended baking time is up. Oven temperatures can vary, and mini donuts can bake quickly.
- Fill the Pan Properly: Fill each donut cavity about 2/3 full. This allows room for the batter to rise and form a perfect donut shape without overflowing.
- Cool Before Glazing: Allow the mini donuts to cool in the pan for a few minutes before transferring them to a wire rack. Cooling them before glazing or coating helps the glaze set better and prevents it from melting off.
- Storage Tips: Oven-baked mini donuts are best enjoyed fresh. However, if you need to store them, keep them in an airtight container at room temperature for up to 2-3 days. For longer storage, you can freeze them and then reheat gently before serving.
- Use a Donut Pan: Using a mini donut pan is essential for achieving the classic donut shape and ensuring even baking. If you don’t have a mini donut pan, a regular donut pan can be used, but the baking time might need adjustment.
Following these tips will help you bake delicious and perfectly shaped mini donuts every time. Enjoy your baking!
More Baking Ideas:
- Flower Brownies – Fudgy brownies topped with colorful “flowers” that are as fun to look at as they are to eat – perfect for a playful twist on a classic treat!
- Frosted Oreo Cookies – Soft, chewy cookies crowned with creamy Oreo frosting—perfect for anyone who loves a cookies-and-cream dream!
- Tiramisu Cookies – Espresso and mascarpone come together in these elegant Tiramisu Cookies, delivering the flavors of the classic Italian dessert in every bite.
- Chocolate Banana Bread – Rich, moist, and studded with chocolate chips, this Chocolate Banana Bread is a heavenly treat for chocolate and banana lovers alike.
Watch the recipe video here. Let’s get to baking! Here is the full recipe:
Summary
Recipe Name
Author Name
Ovenbaked Mini Donuts
Isabel
Published On