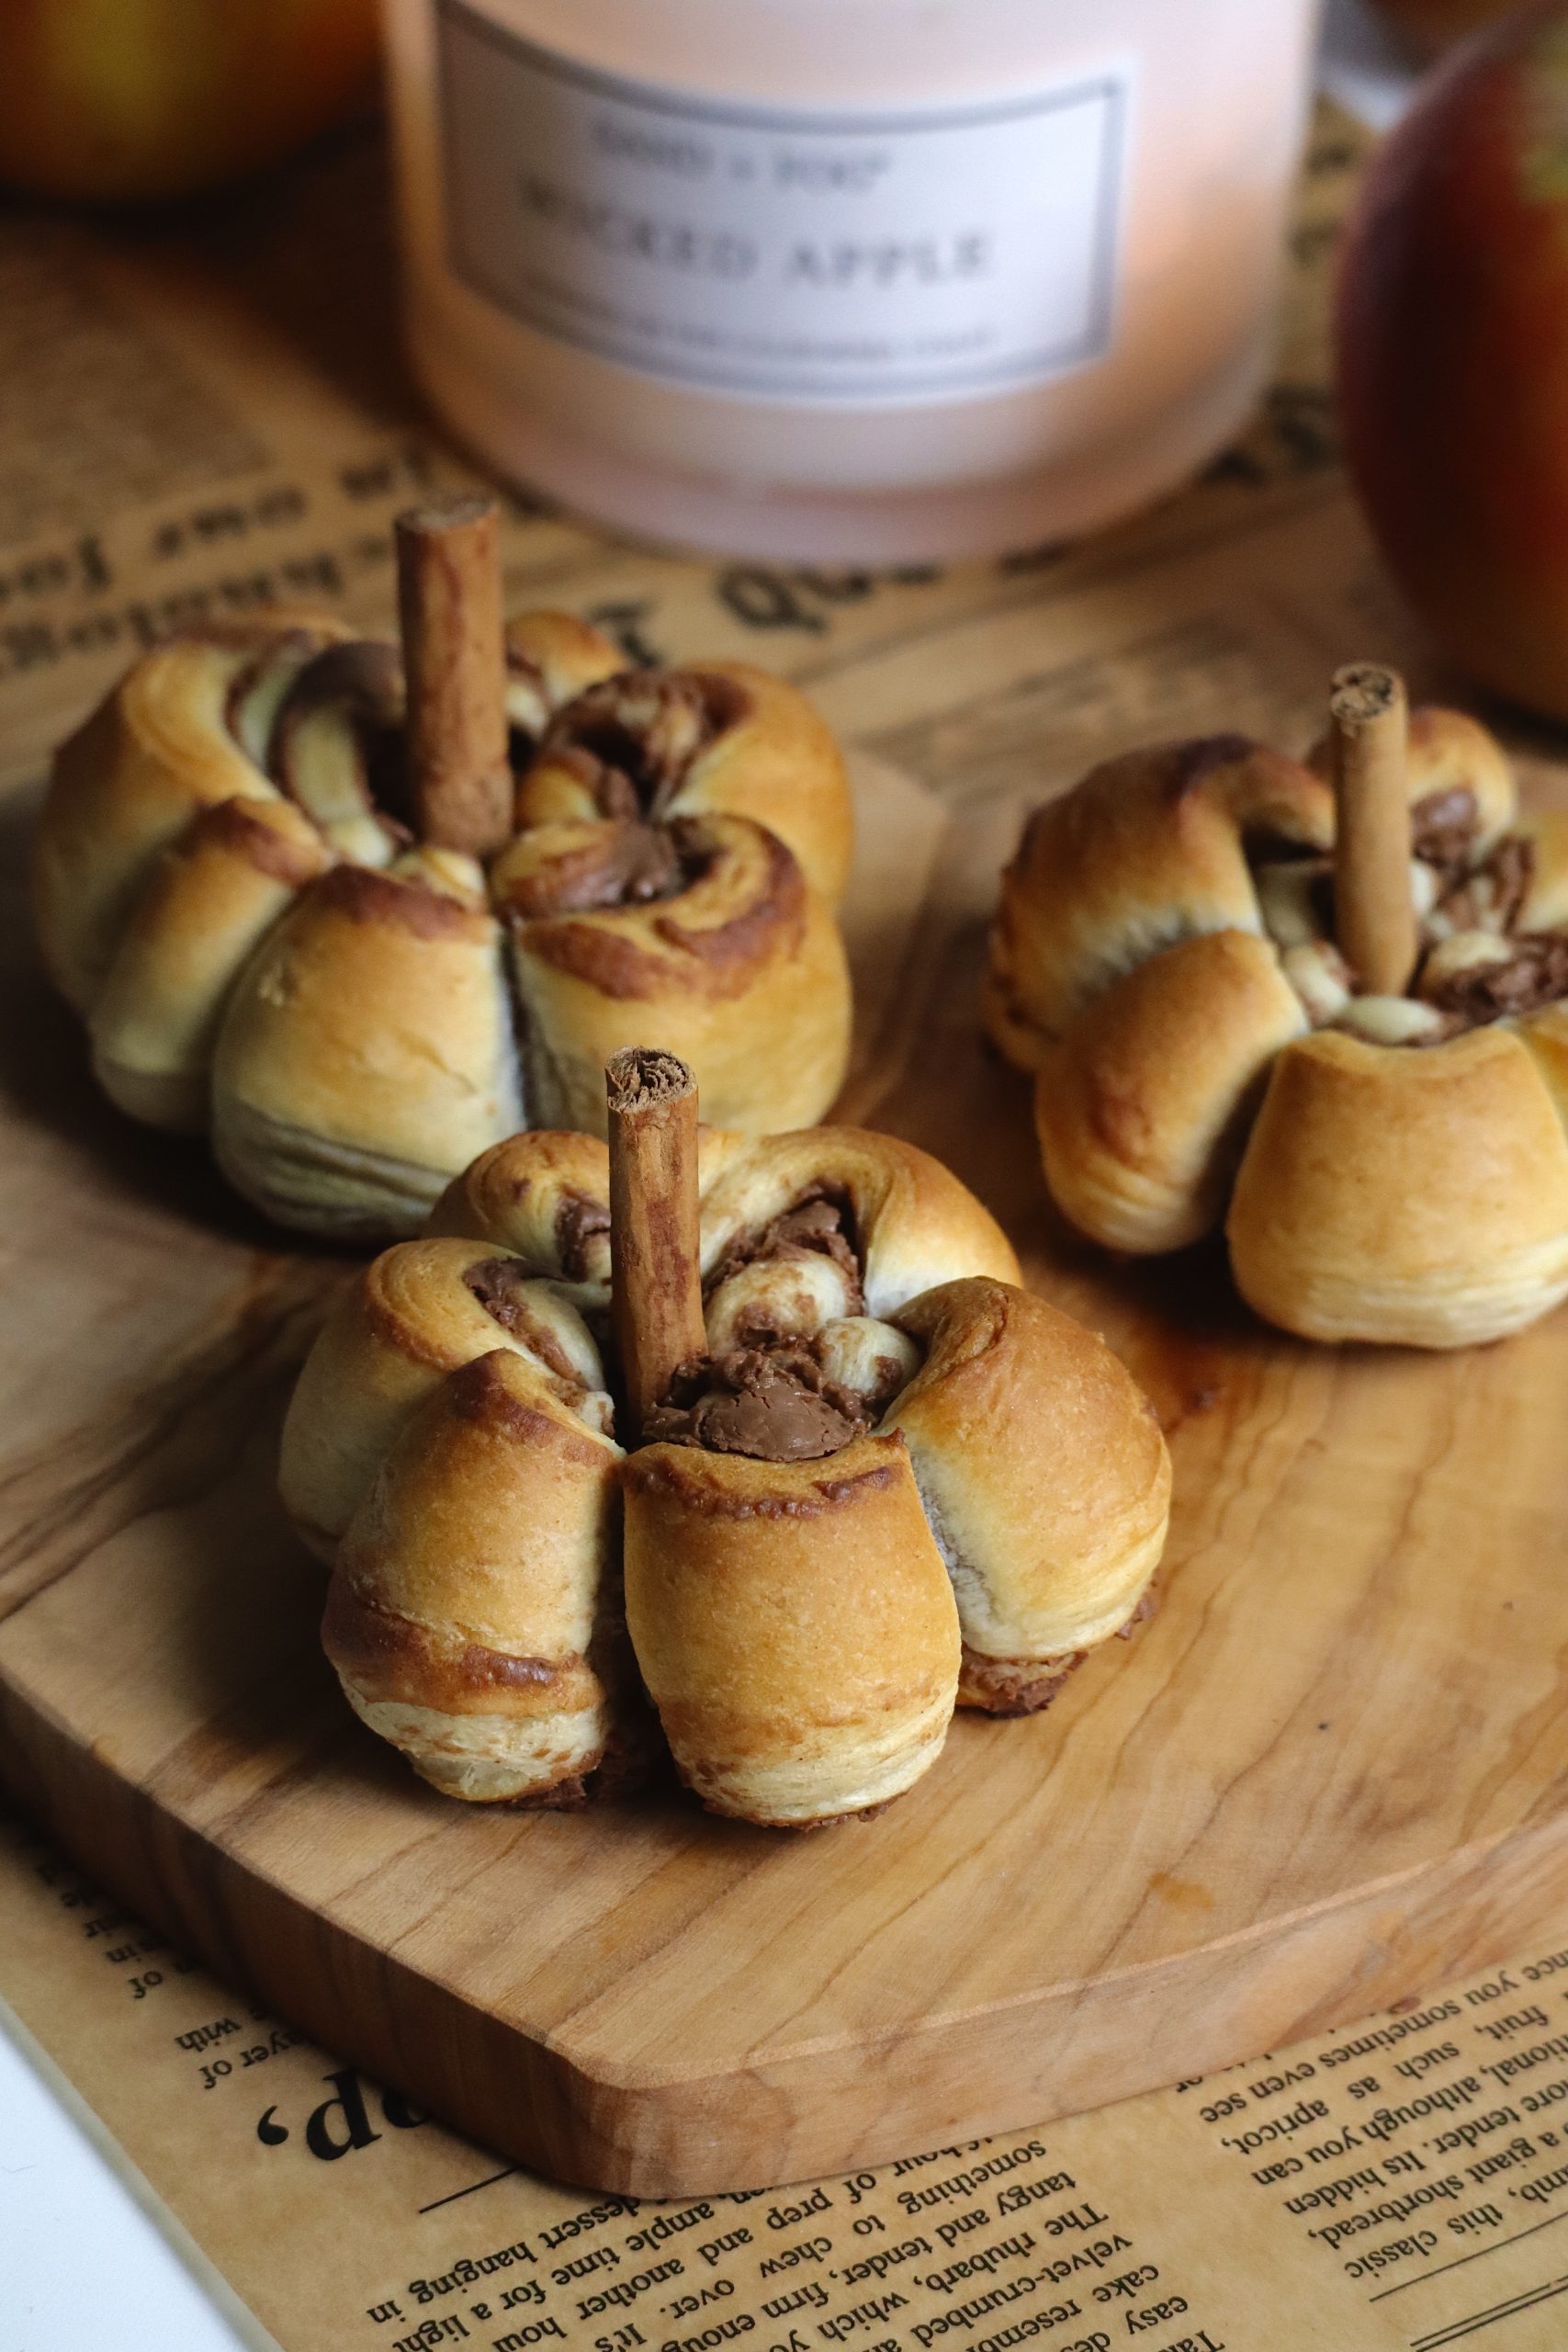
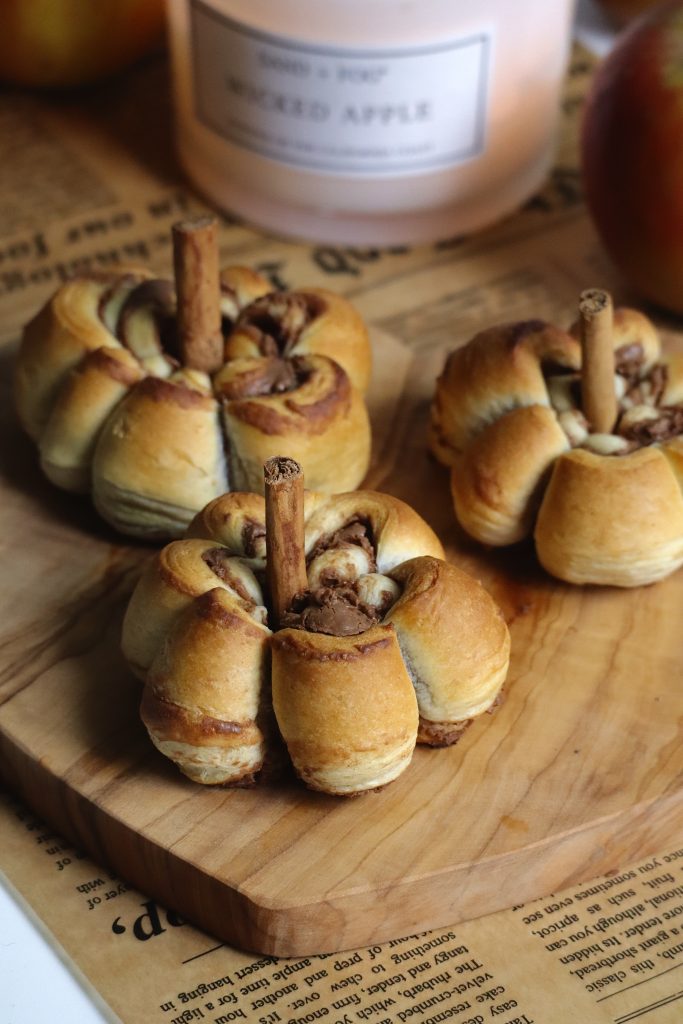
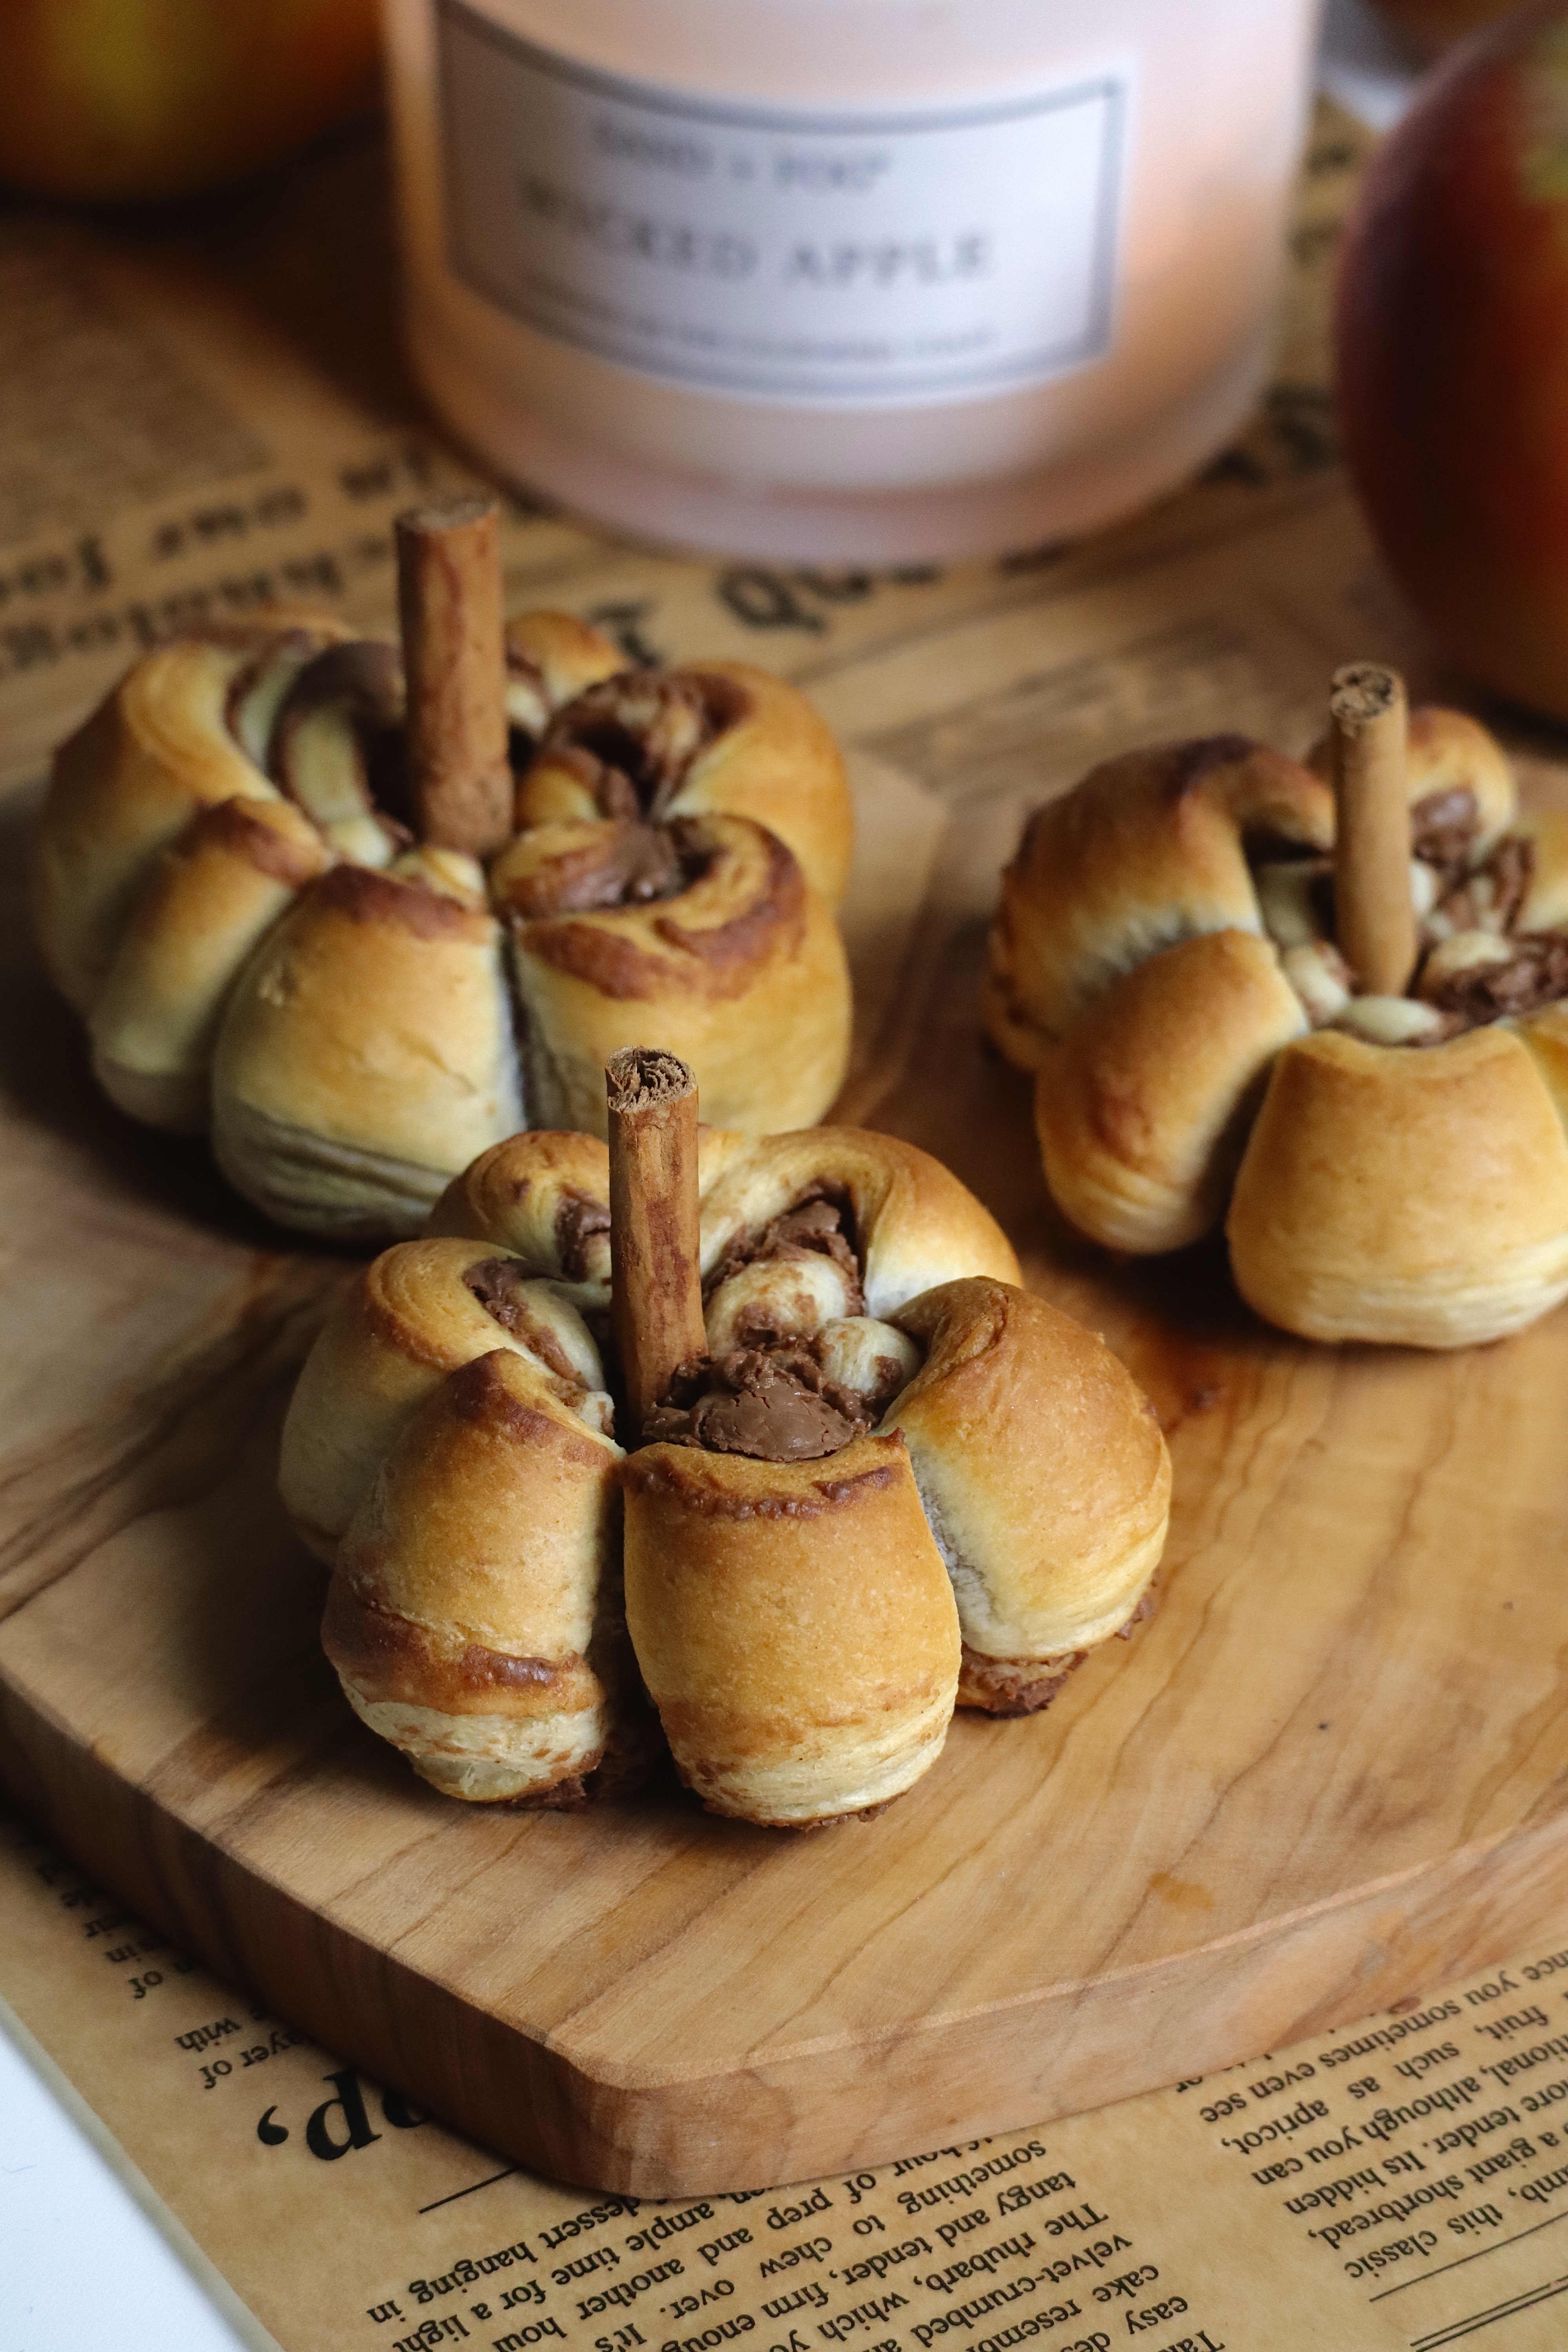
When the fall season rolls in, it’s the perfect time to embrace all things pumpkin-shaped. If you’re looking for an easy, fun, and delicious treat to impress your family or guests, these Pumpkin Shaped Cinnamon Rolls are just what you need. They bring a festive touch to any autumn breakfast or brunch, and with just a few simple steps, you can transform regular cinnamon rolls into adorable pumpkin-like pastries. Let’s walk through the process and give you some tips to make them extra special.
Why Make Pumpkin Shaped Cinnamon Rolls?
Not only are cinnamon rolls a beloved classic, but turning them into pumpkin shapes brings a fun, seasonal twist without much extra effort. These are ideal for Halloween parties, Thanksgiving morning, or even as a cozy Sunday brunch treat. Plus, they’re made from store-bought cinnamon rolls, making them incredibly quick and easy to prepare.
These Pumpkin Shaped Cinnamon Rolls are an effortless way to bring some fall magic into your home. With just a few simple ingredients and a bit of creativity, you can transform a regular can of cinnamon rolls into a festive pumpkin-inspired treat. Whether you’re baking them for your family or preparing them for a fall gathering, these cinnamon rolls are guaranteed to be a hit. You’ll find yourself whipping up batches of these adorable, delicious treats all season long!
Ingredients You’ll Need for making the Cinnamon Rolls:
- 1 Can of Cinnamon Rolls Dough: Using store-bought dough makes this recipe effortless. You get the classic cinnamon roll flavor without having to mix and knead your own dough from scratch. A perfect shortcut!
- Icing (Included with the Cinnamon Rolls): Most canned cinnamon rolls come with a small container of icing, which will be used to glaze the rolls after they bake.
- Cinnamon or Pumpkin Pie Spice: These spices add extra warmth and autumnal flavor. Pumpkin pie spice, in particular, complements the theme and enhances the pumpkin aesthetic.
- Cinnamon Sticks (Optional): These make perfect “stems” for your pumpkin rolls, giving them a realistic pumpkin look.
You’ll need the following tools for making the Pumpkin Shaped Cinnamon Rolls:
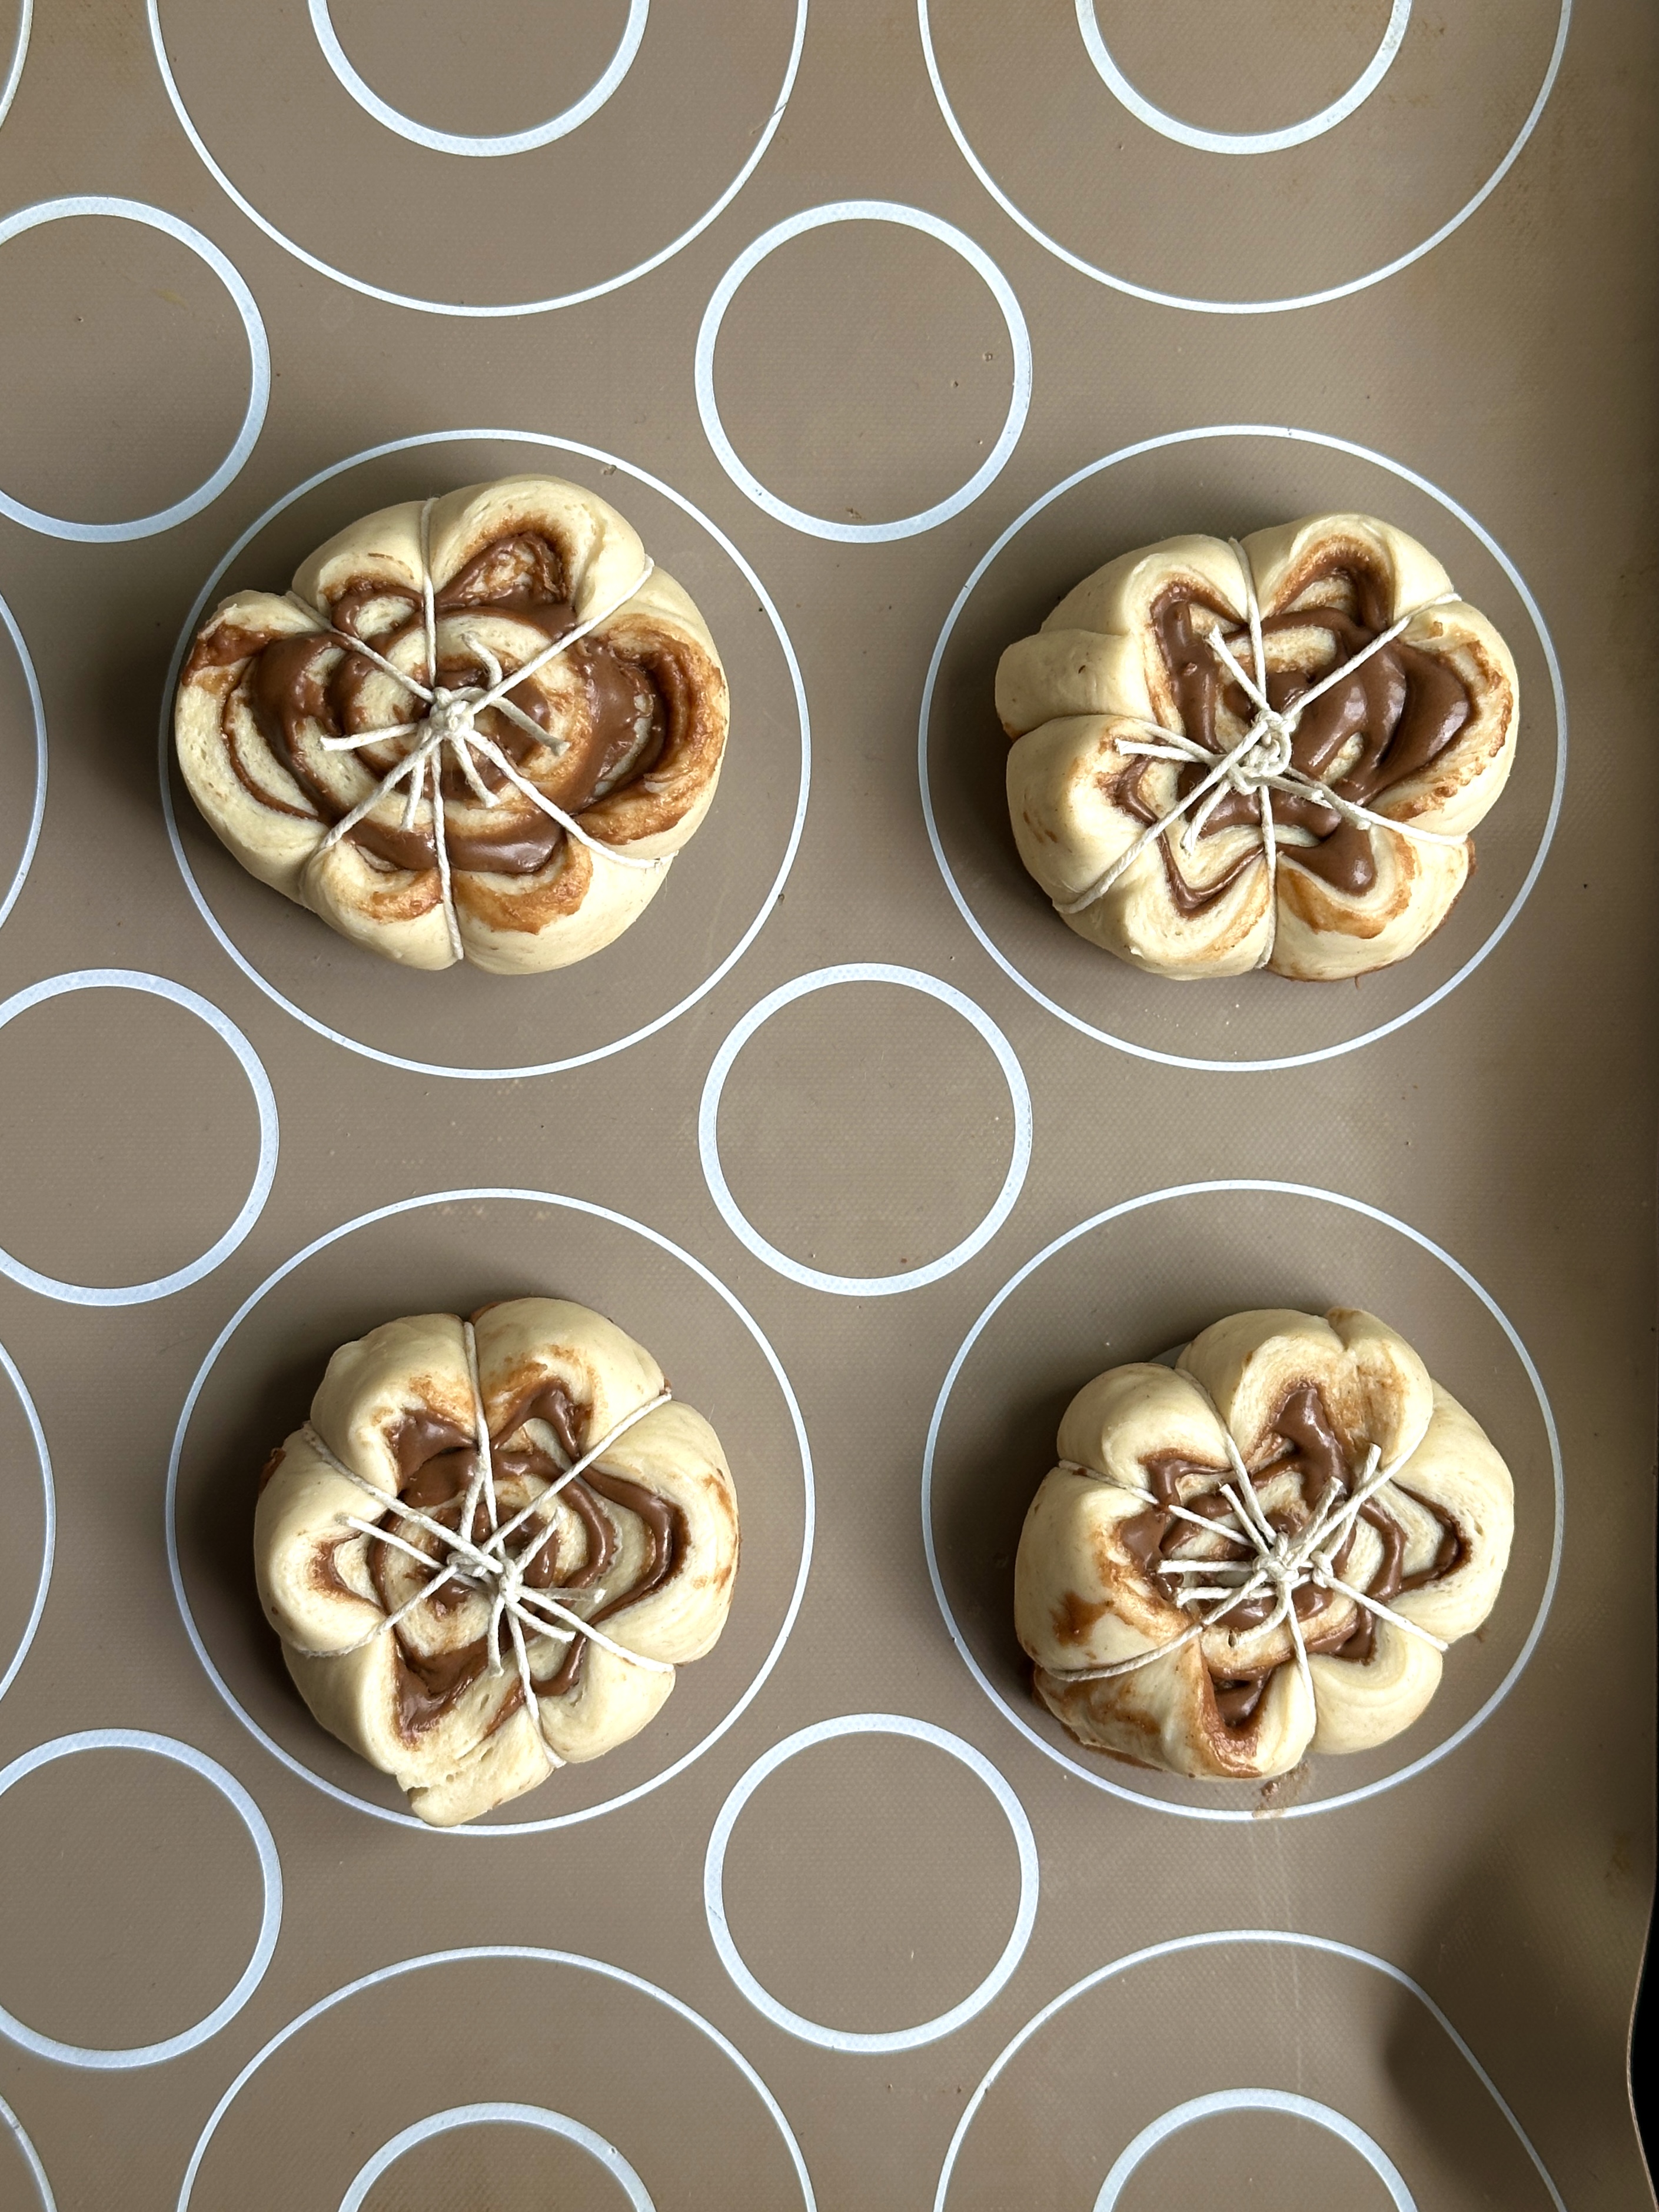
- Baking Twine: Twine is key for shaping the cinnamon rolls into pumpkins. Make sure to use a food-safe variety that can withstand oven temperatures.
- Baking Sheet or Dish: A sturdy baking sheet or dish is necessary to ensure even cooking. A non-stick or parchment-lined option is best for easy cleanup.
- Frosting Spatula: A frosting spatula is perfect for spreading the icing evenly over the rolls after baking.
- Cooling Rack: To prevent the cinnamon rolls from becoming soggy, a cooling rack allows air circulation after baking.
Directions
Preheat Your Oven and Prep the Twine
- Before you begin, preheat your oven according to the instructions on your cinnamon roll can (usually around 350°F/175°C). Then, cut out three pieces of twine for each cinnamon roll. Make sure the twine is safe for baking—cotton or natural fibers work best.
- The twine is essential for shaping the rolls into pumpkins, as it creates indents in the dough while it bakes, resembling the ridges of a pumpkin.
Prepare and Shape the Cinnamon Rolls
- Take out the cinnamon rolls and place each one onto the middle of the crisscrossed pieces of twine. Once each roll is centered, tie the twine around it. Make sure the twine is snug, but not too tight, as you want to create visible indentations without cutting through the dough. These tied sections will form the distinct pumpkin shape once baked.
- Be sure to leave the tops of the rolls visible and untied, as this is where the “stem” will be inserted after baking.
Arrange in Baking Dish
- Arrange your tied cinnamon rolls into a baking dish, making sure they are placed close together but not touching. This will ensure that the rolls rise well and bake evenly.
Bake the Cinnamon Rolls
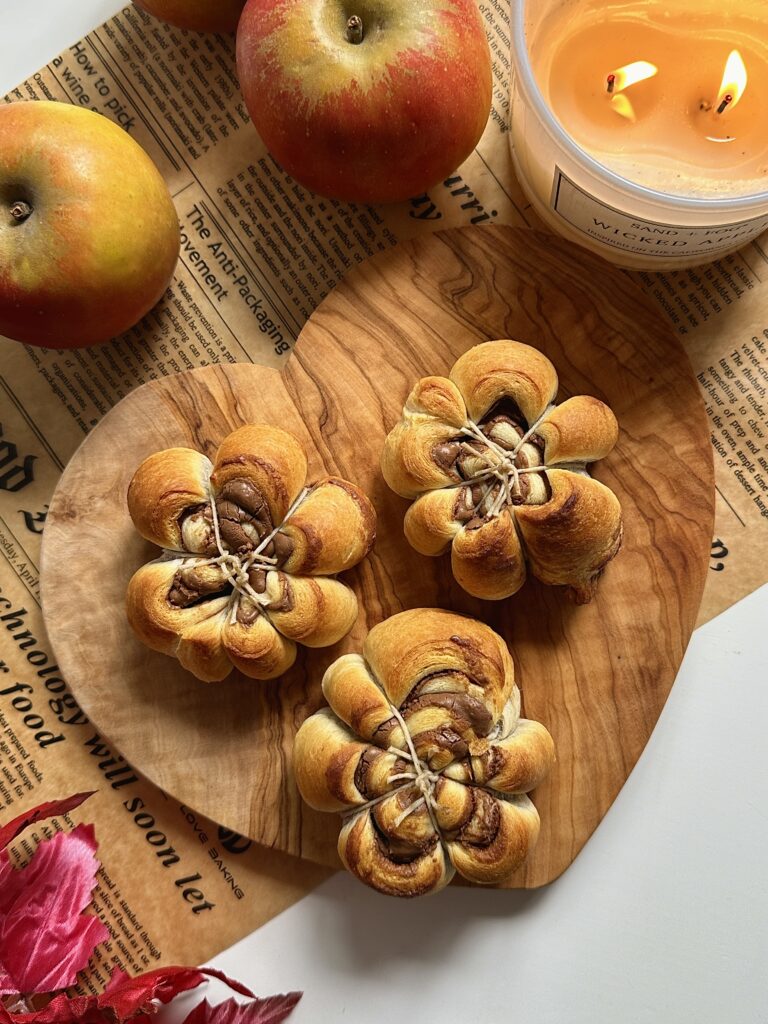
- Place the baking dish in the oven and bake according to the package instructions—this is usually around 13-15 minutes at 350°F (175°C). Keep an eye on them as baking times can vary slightly depending on your oven. You want the cinnamon rolls to turn golden brown around the edges and feel firm in the center when touched.
Prepare the Icing
- While your pumpkin cinnamon rolls are baking, it’s time to prepare the icing. You can simply use the icing provided in the cinnamon roll package, but if you’d like, you can enhance it by adding a little extra pumpkin pie spice or cinnamon to give it more autumn flavor.
- You’ll want the icing to be ready to spread as soon as the rolls come out of the oven, so that it melts slightly into the warm rolls, creating a gooey and delicious layer of sweetness.
Finish and Decorate
- Once your rolls are baked to perfection, remove them from the oven and let them cool for just a couple of minutes before cutting and removing the twine. This step is crucial—if you try to remove the twine while the rolls are too hot, they may fall apart. Afterward, spread the icing generously over the top of each roll.
- As a final touch, sprinkle the tops of the rolls with pumpkin pie spice or cinnamon. For an extra pumpkin-inspired detail, press a cinnamon stick into the center of each roll to mimic a pumpkin stem.

Tips & Tricks for the Best Pumpkin Shaped Cinnamon Rolls
- Don’t Overfill with Spices: While pumpkin pie spice and cinnamon add fantastic fall flavor, be cautious not to overfill the cinnamon rolls with these spices, as it can overpower the taste.
- Choosing the Right Cinnamon Roll Dough: Not all canned cinnamon roll dough is created equal! Be sure to pick one that has a good balance of cinnamon filling and isn’t too dry.
- Customizing the Recipe: You can easily modify this recipe by adding some extra fillings to the cinnamon rolls before you bake them. Try sprinkling a bit of chopped nuts, raisins, or even a drizzle of caramel inside the rolls for extra decadence.
- Twine Tip: Make sure your twine is snug but not too tight. If it’s too loose, the rolls won’t hold their pumpkin shape, but if it’s too tight, you’ll end up cutting through the dough.
- Serving Suggestions: These Pumpkin Shaped Cinnamon Rolls make a lovely presentation on a breakfast table. Serve them with a hot cup of coffee or spiced cider for the ultimate fall treat.
More Fall Baking Ideas:
- Pumpkin Sugar Cookies – These Pumpkin Sugar Cookies are soft, spiced, and packed with the rich flavors of fall, perfect for a cozy treat any time!
- Apple Pie Cookies – Bite-sized versions of the classic dessert, these Apple Pie Cookies are filled with warm spiced apples and wrapped in a soft, chewy cookie.
- Apple Cheesecake Cookies – The perfect blend of tart apples and creamy cheesecake, all in a sweet and chewy cookie that melts in your mouth.
- Chai Cookies – Infused with warm chai spices and topped with a sweet spiced glaze, these Chai Cookies are the perfect cozy treat for fall!
Watch the recipe video here. Let’s get to baking! Here is the full recipe:
